Custom forms
Custom Forms allow you to create your own data entry forms. You can easily customize the fields, layout, and format to suit your preferences. It’s a smart and flexible way to handle data based on your specific needs.
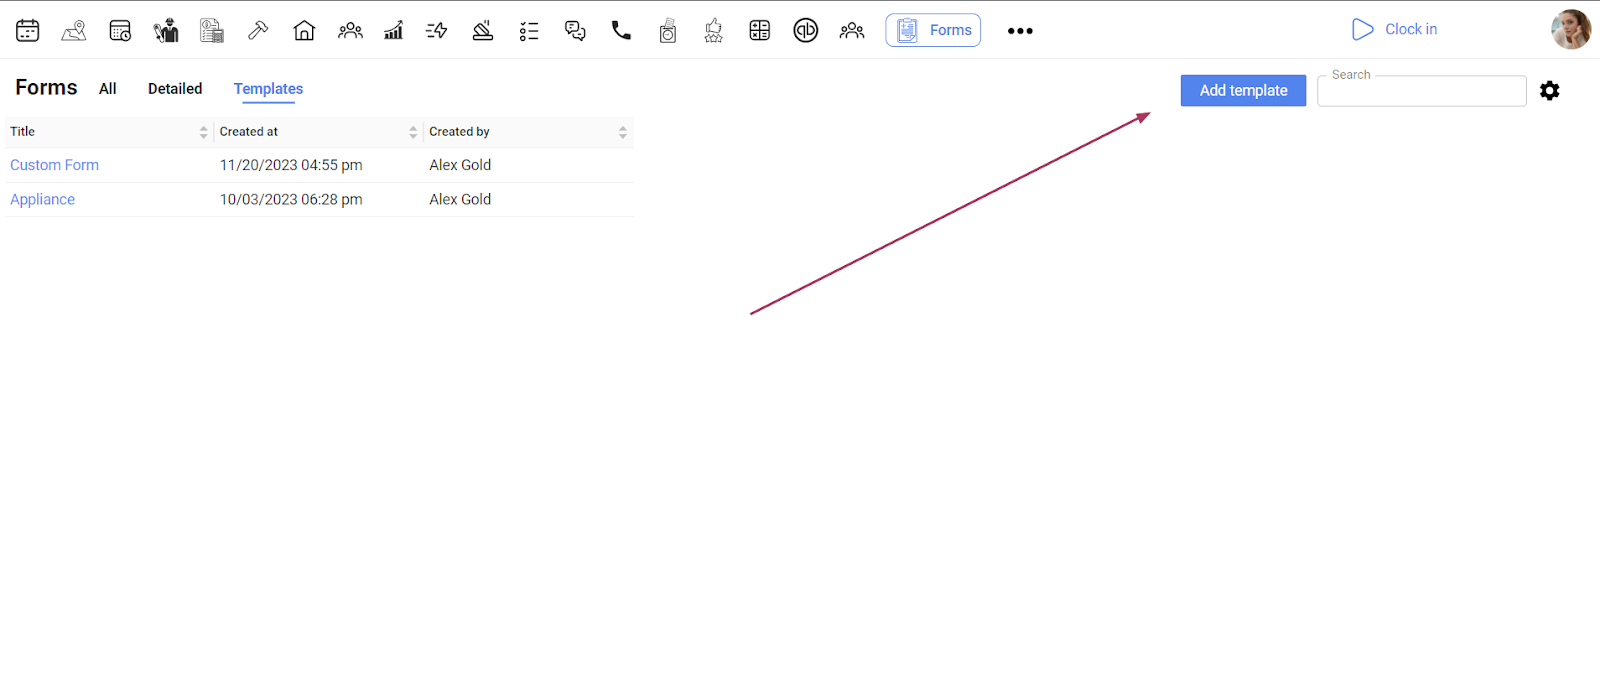
To create your first custom form, go to Forms - Templates and click Add Template button.
A form builder will open which allows you to build your own template using the fields of your choice.
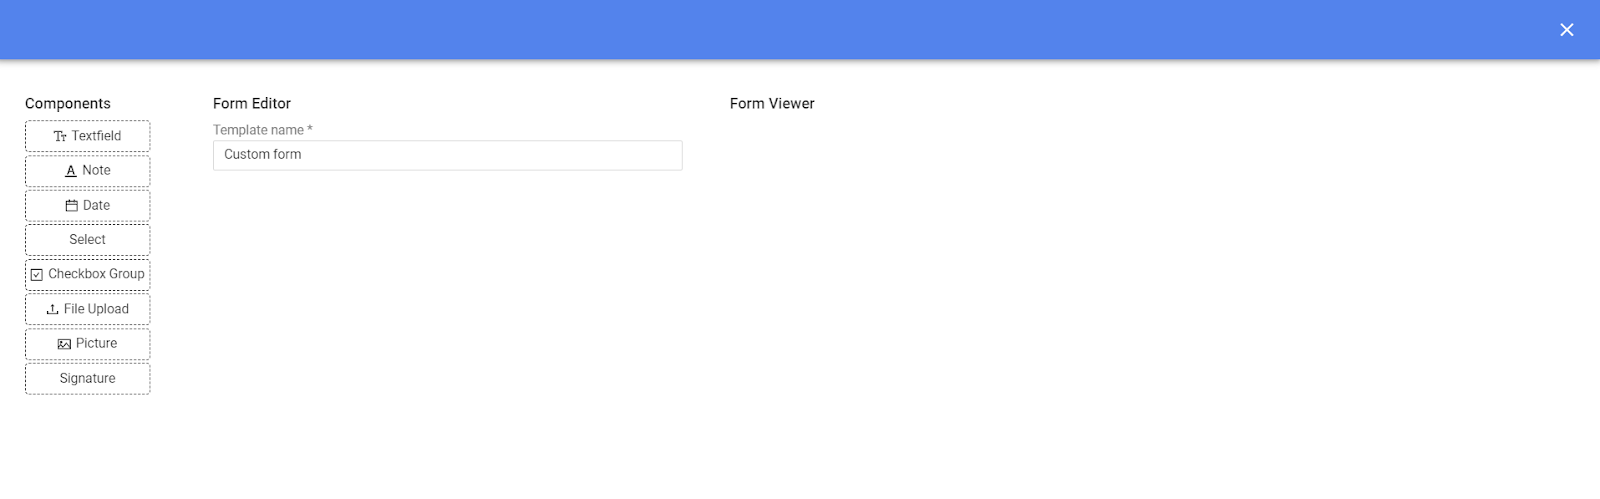
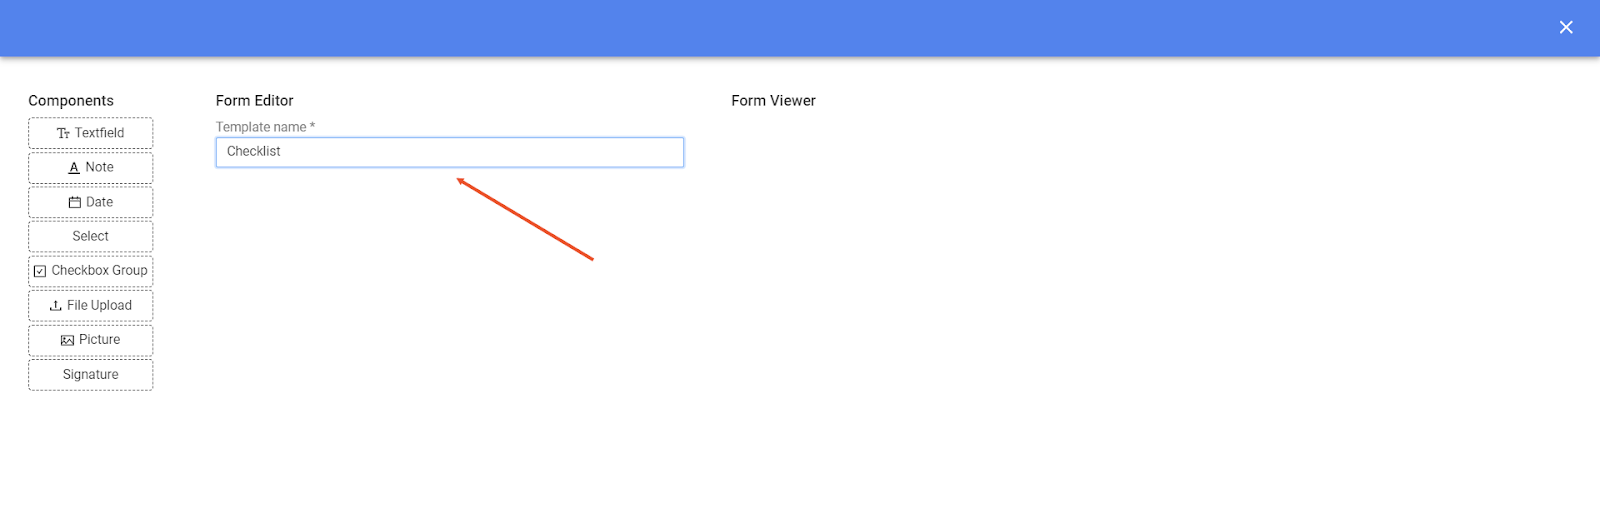
First, enter your template name.
To the left, you will see the list of components you can use in your template. All the components, except for the signature field, can be used multiple times in one form.
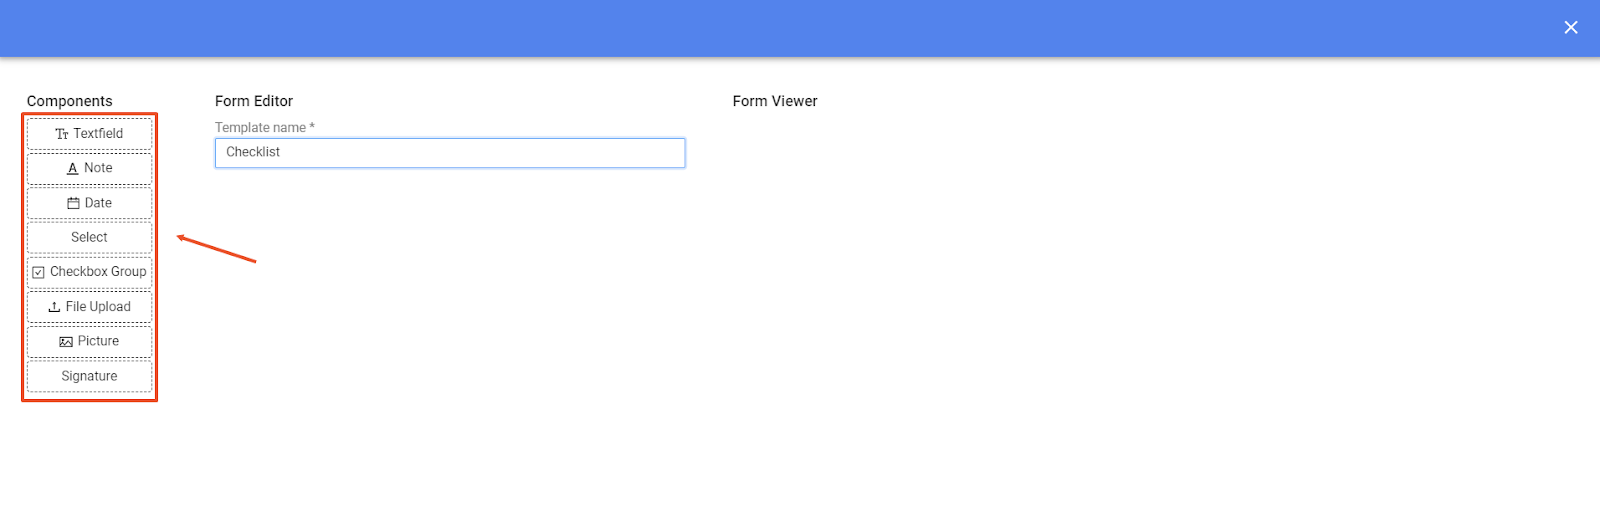
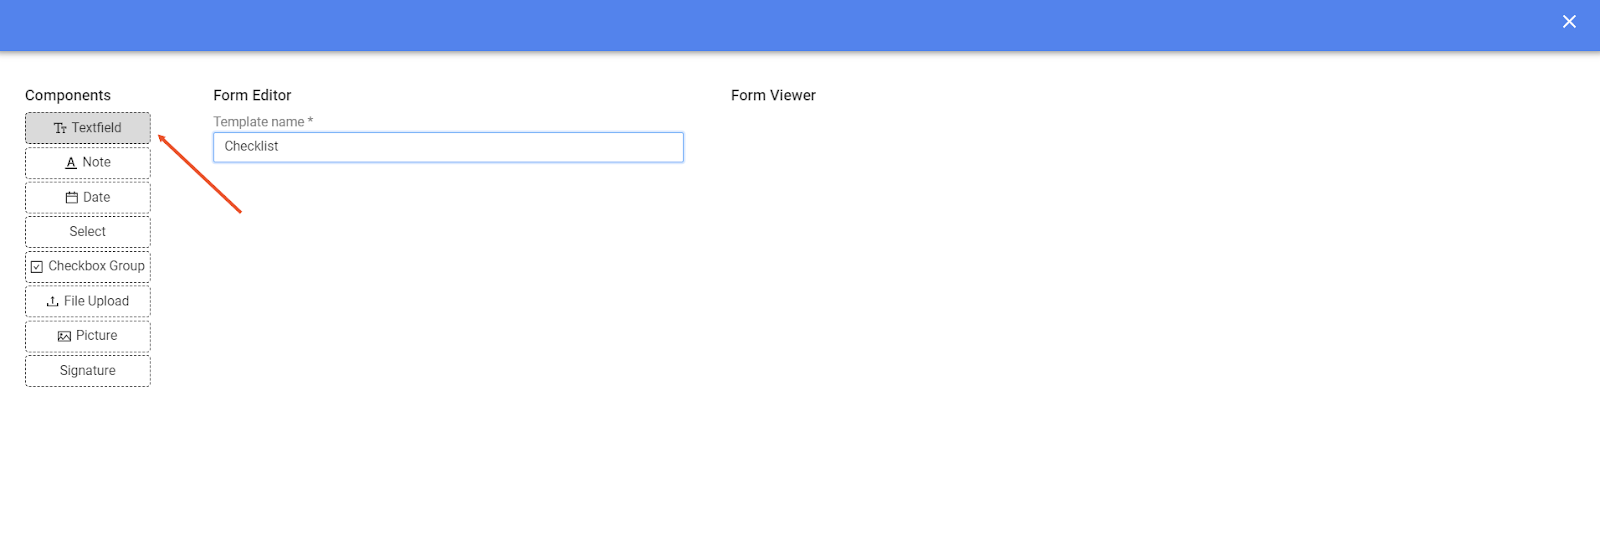
Click on one of the components to add it to your template.
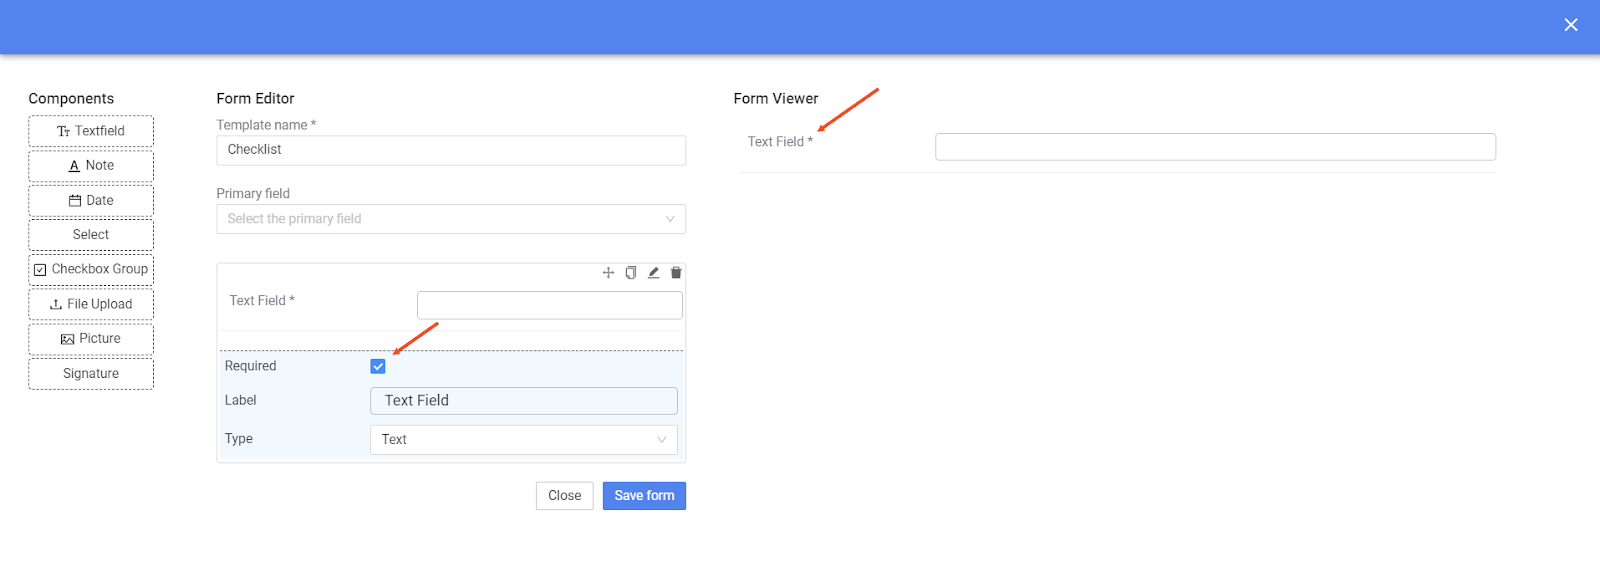
The selected field will appear in the form editor tab where you can apply changes to it.
The form viewer section to the right will show you how the final template will look.
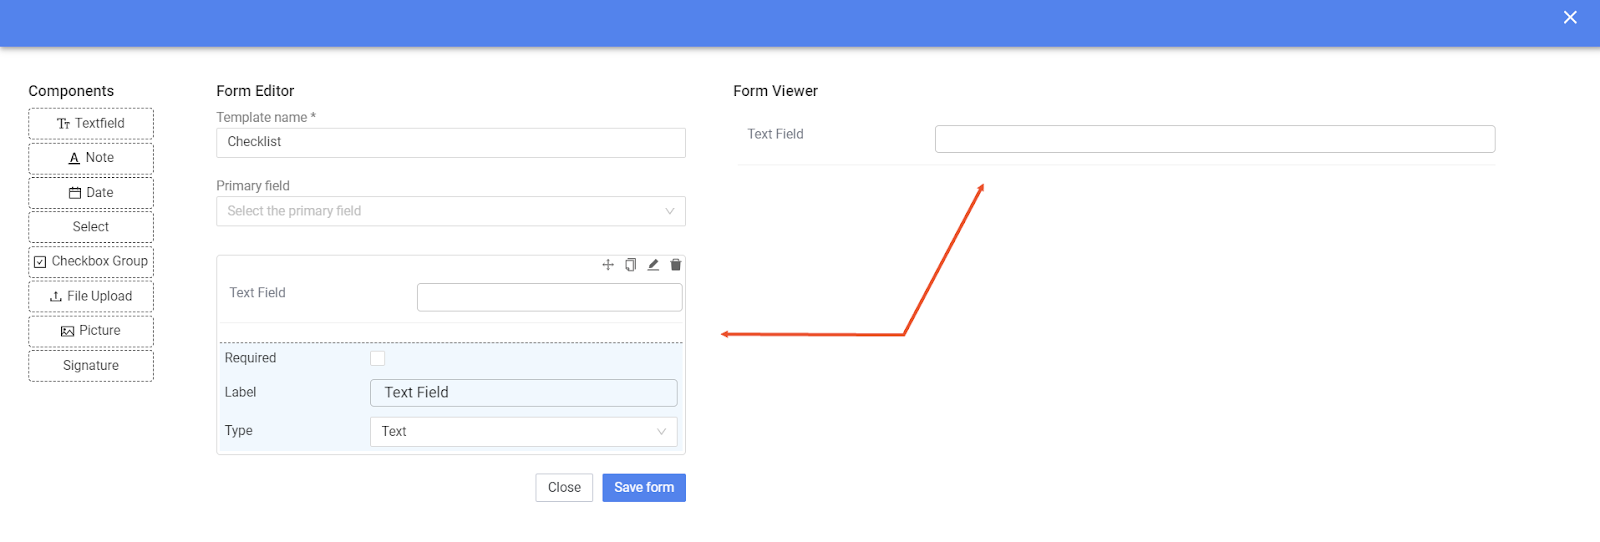
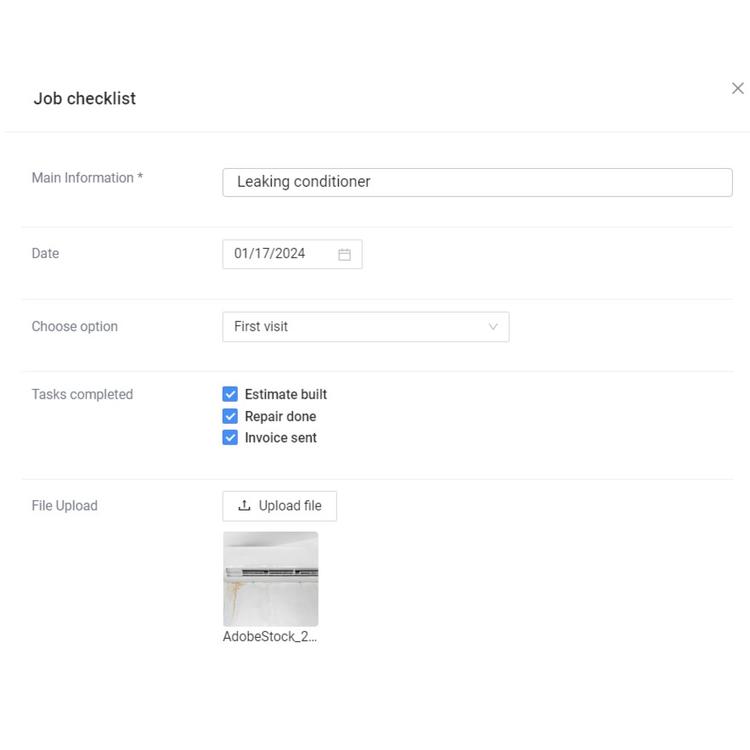
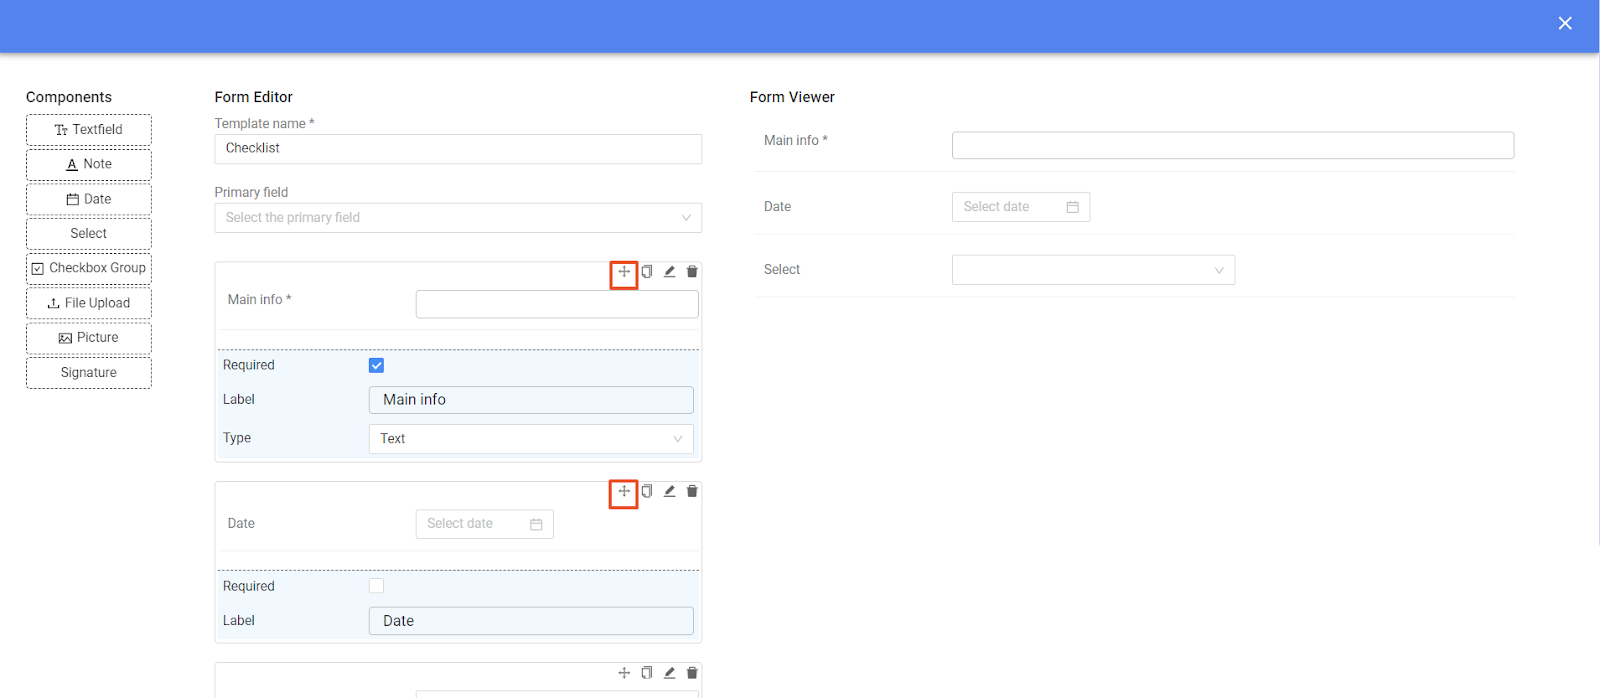
If you mark the field as required, this field will have to be filled out in order to submit the form. Such fields will be marked with asterisk sign *.
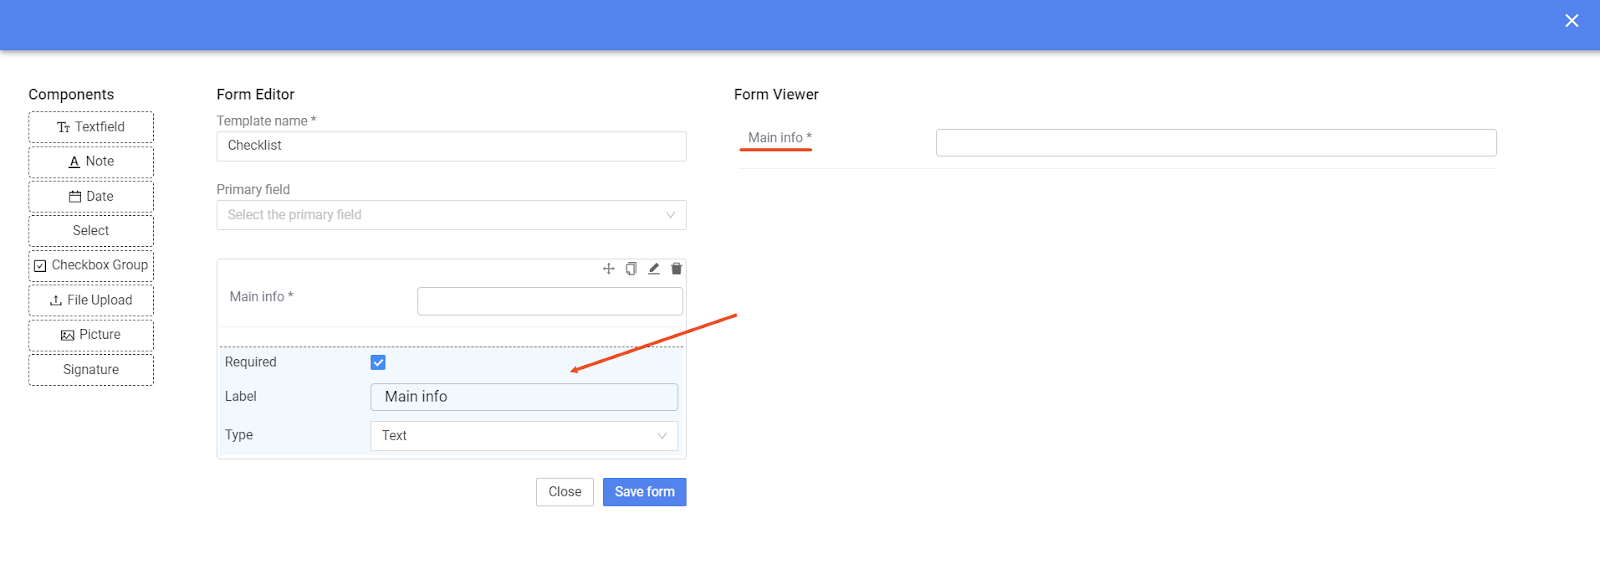
You can enter a label for the field by typing it in the corresponding field.
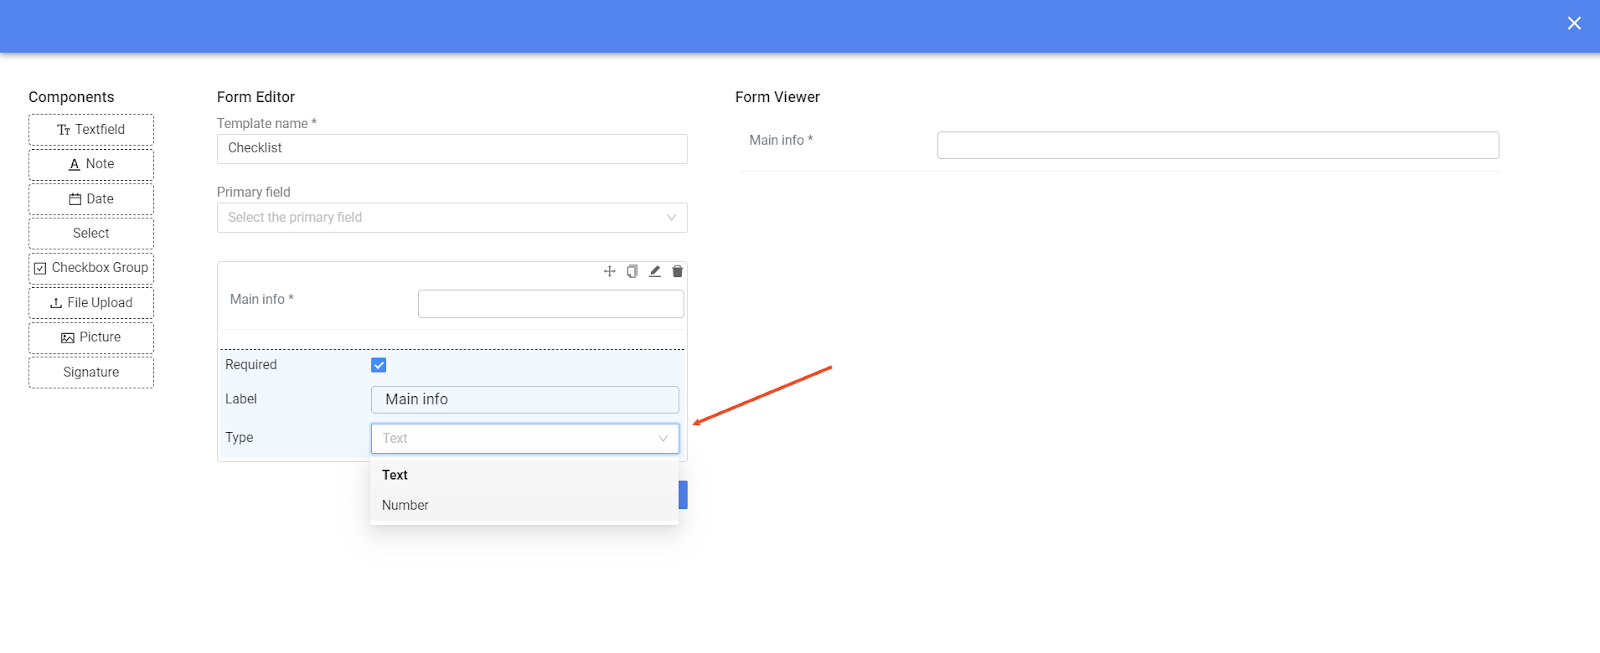
For text fields, you can also select what type of information will be used: it can be text or number.
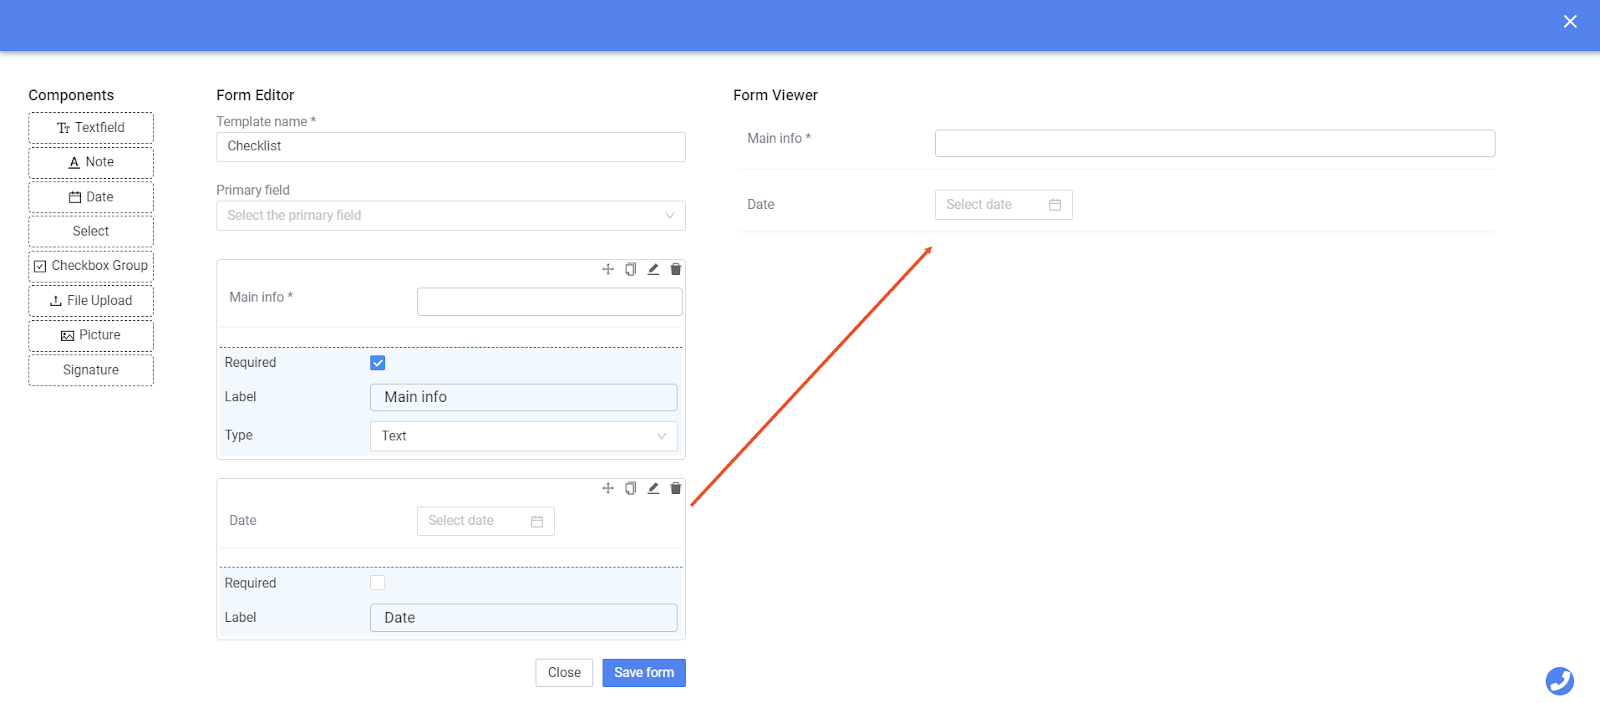
The Date component allows you to pick a date from the calendar in the form.

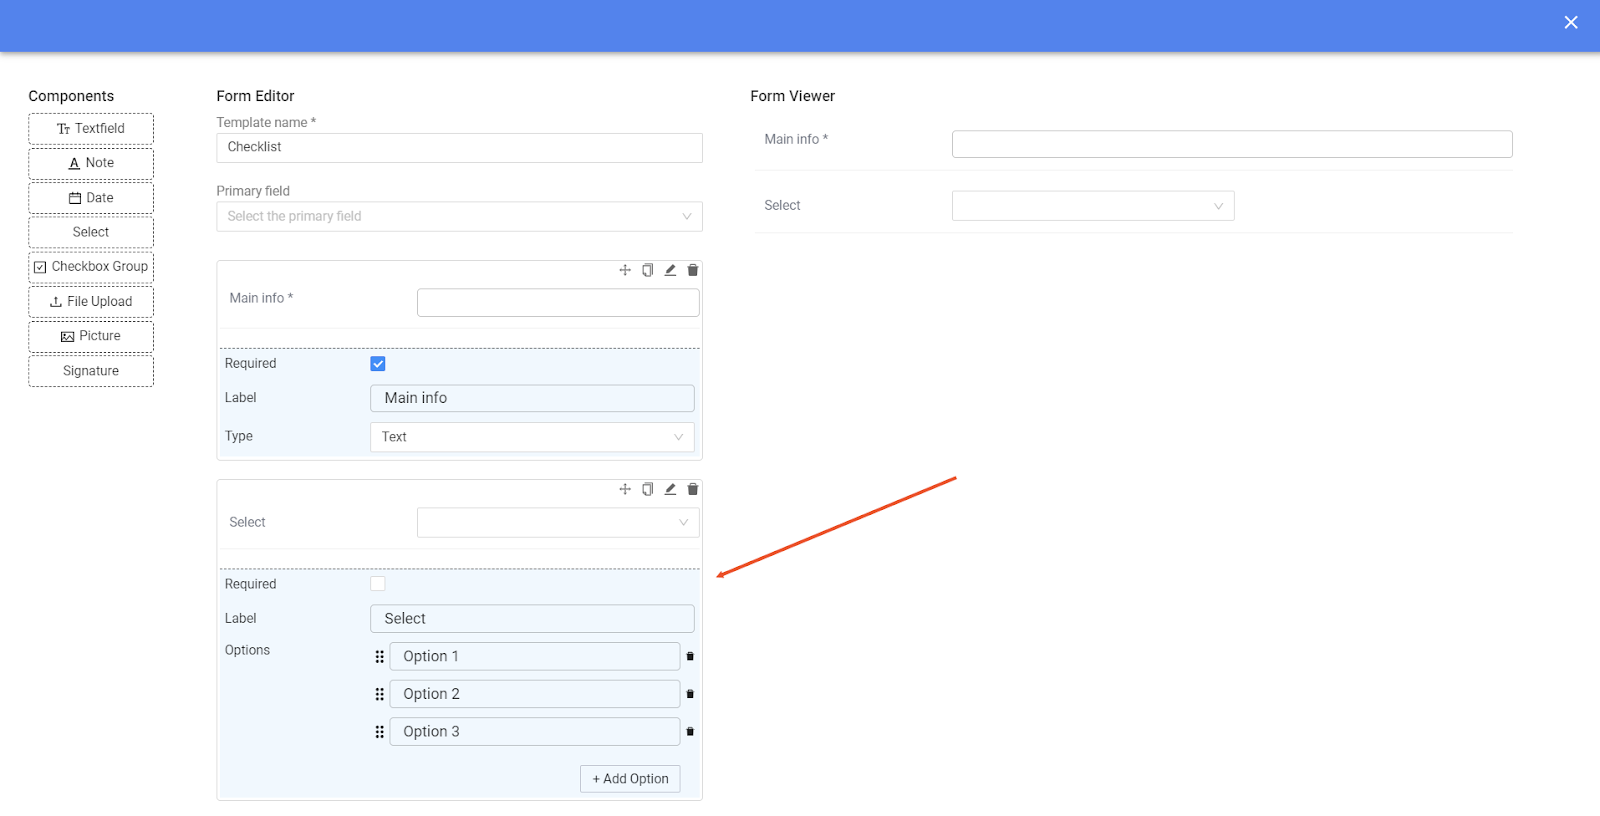
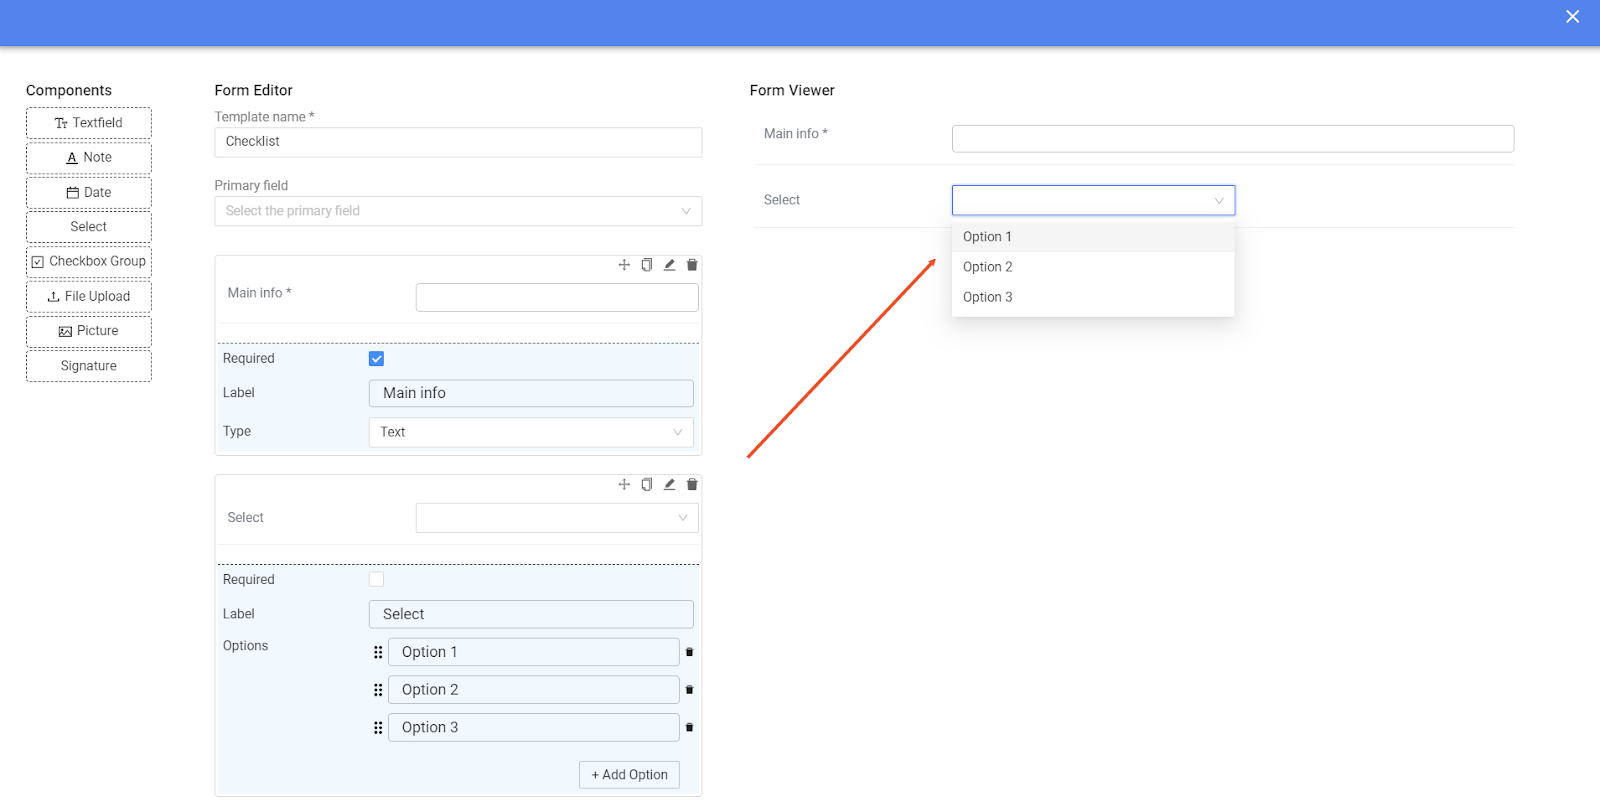
By choosing Select you will add a field with a dropdown where you can choose one of the options. You can rename the options and add more options for this field if the form editor.
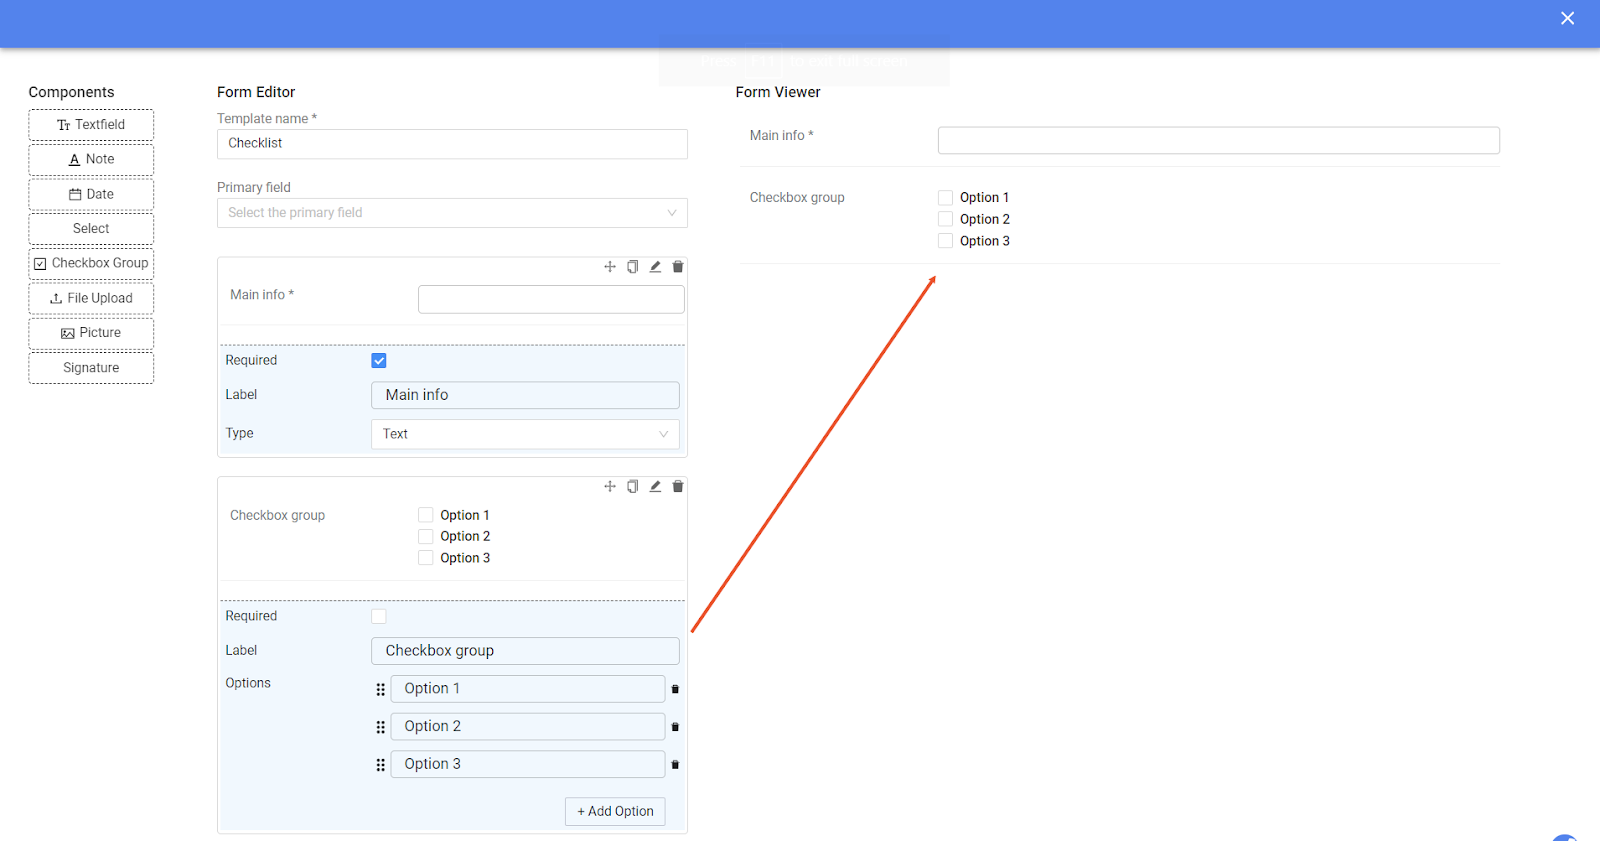
Checkbox group adds a list with checkboxes where you can select multiple options.
Note field allows you to add preset text to the form. You can use it to add a form name, comments or footnotes.
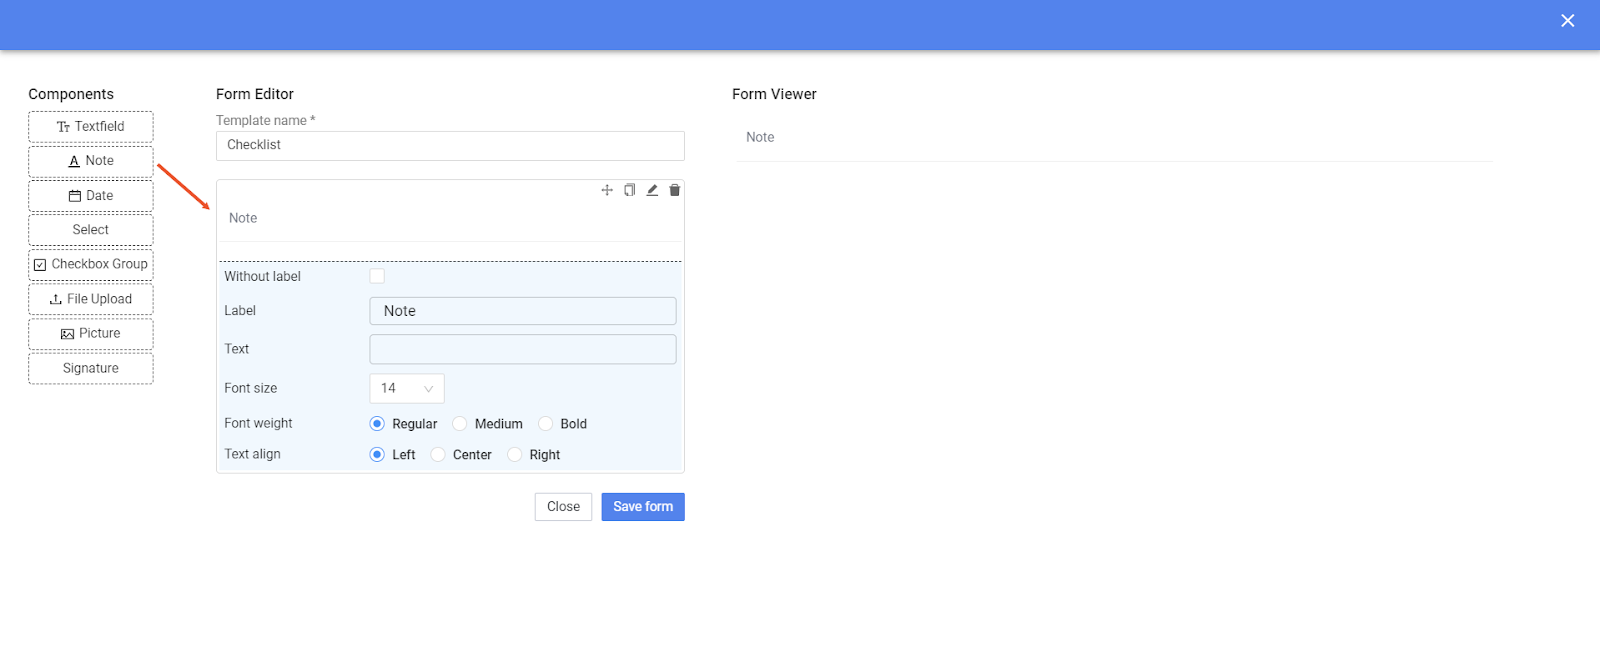
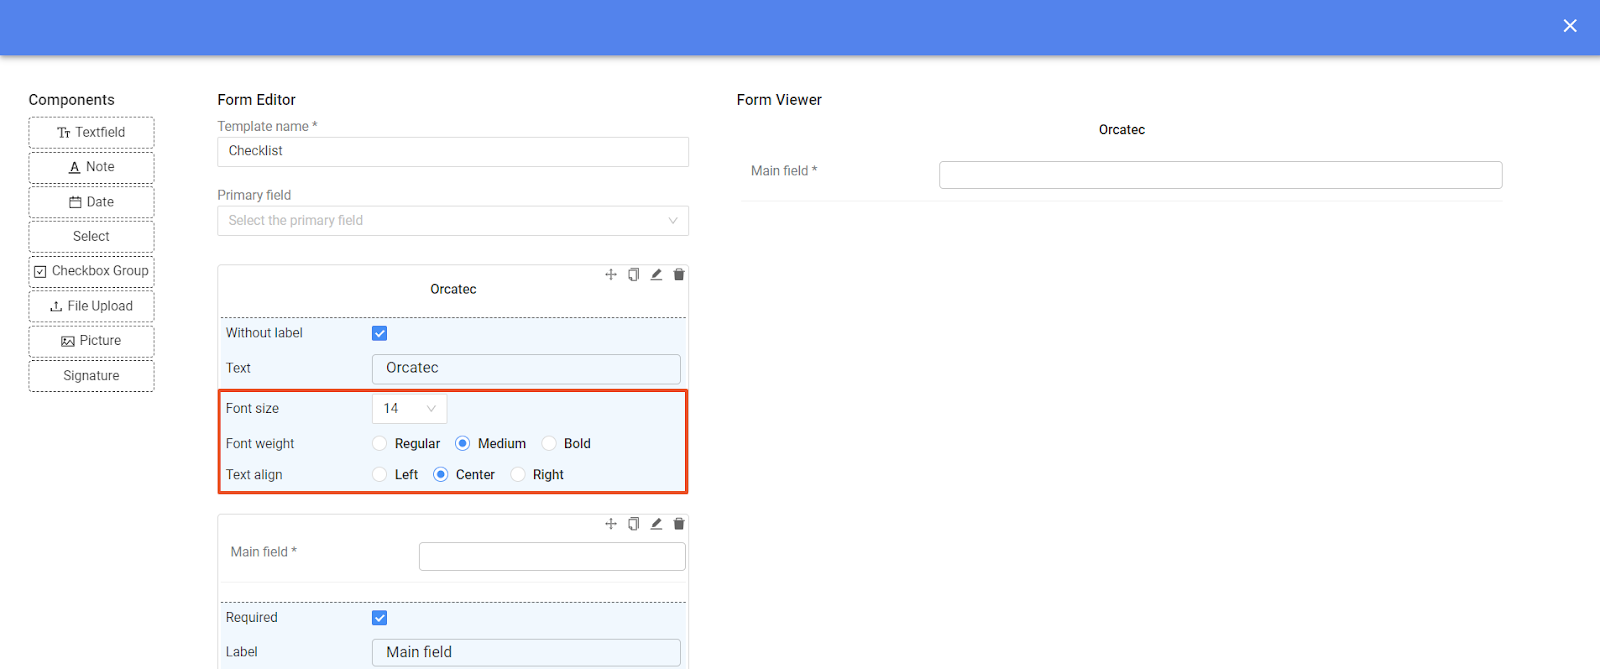
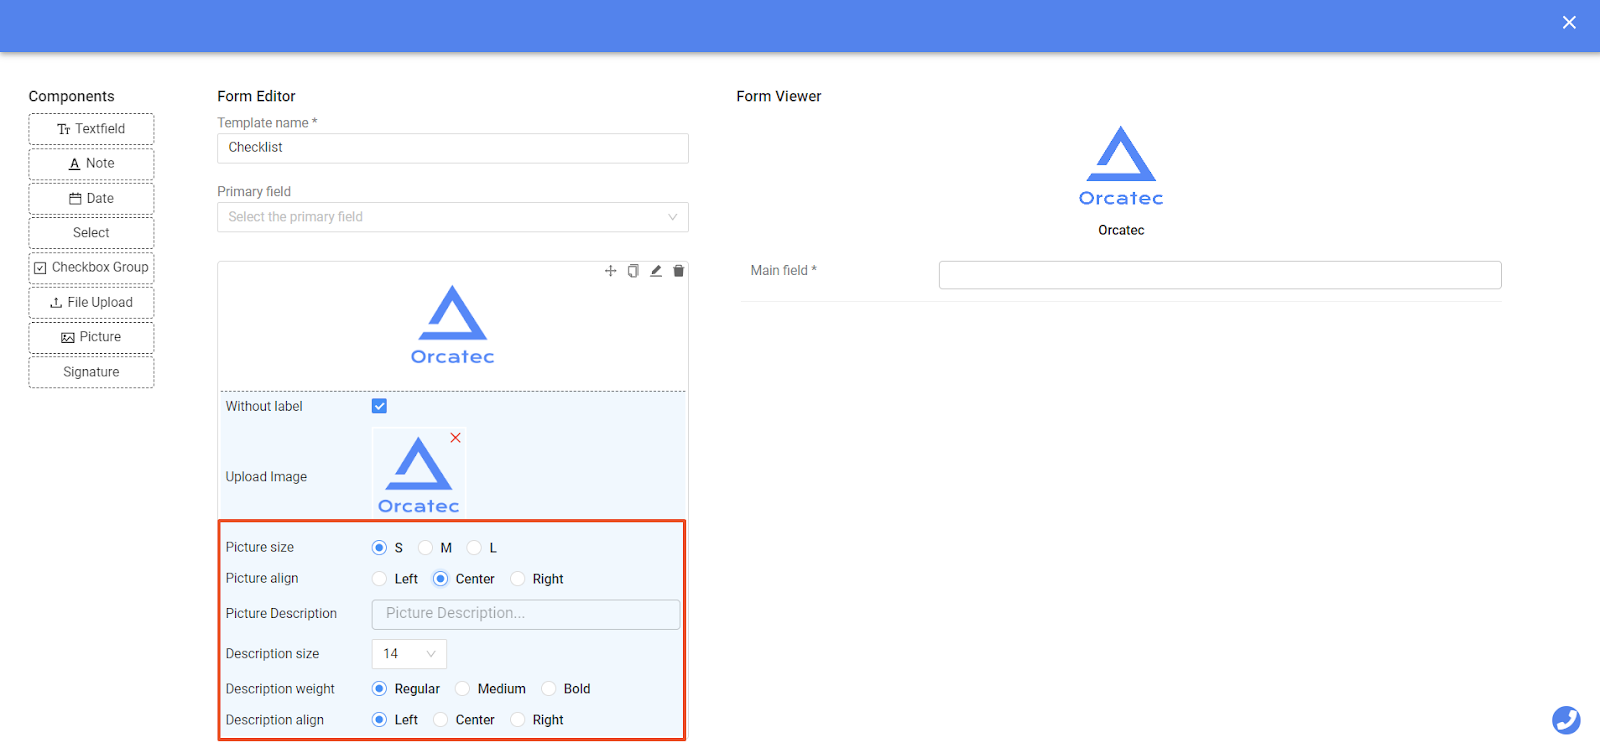
To display the field without the label, check the corresponding field.
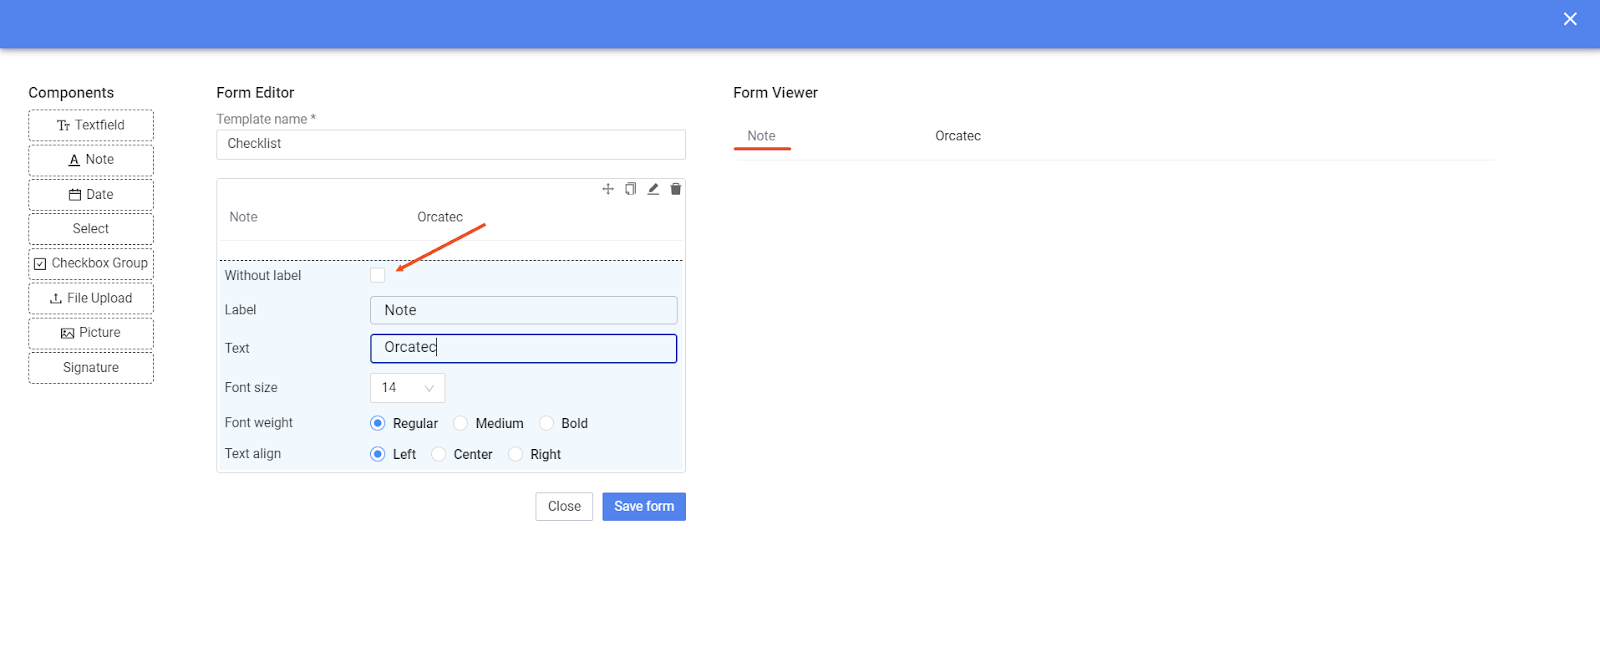
You can also change font size and alignment for this field.
You can use Picture field to add a picture or a logo to your form.
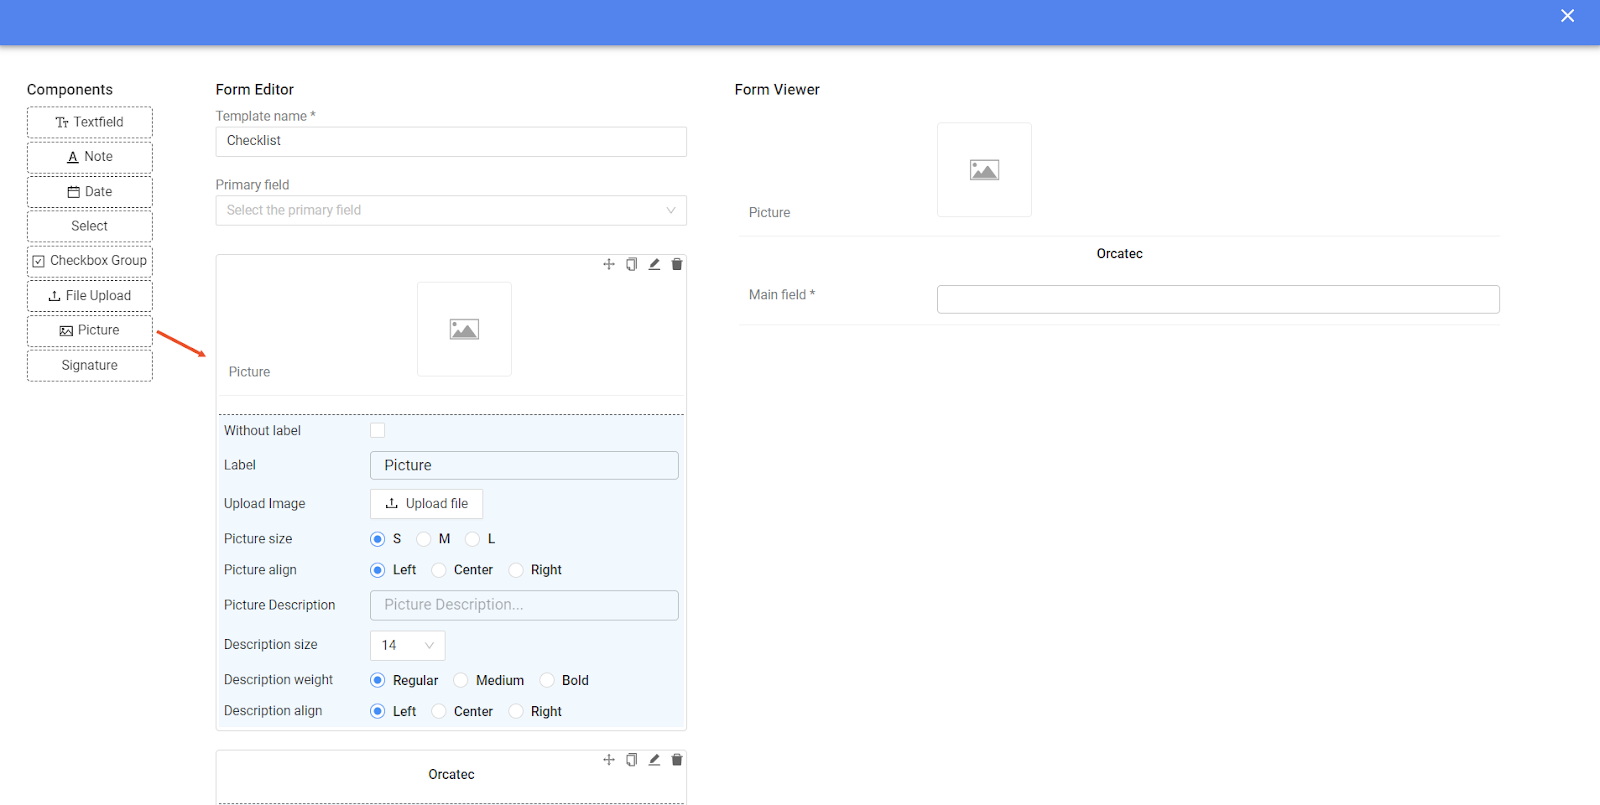
Click Upload file to add an image to your form.
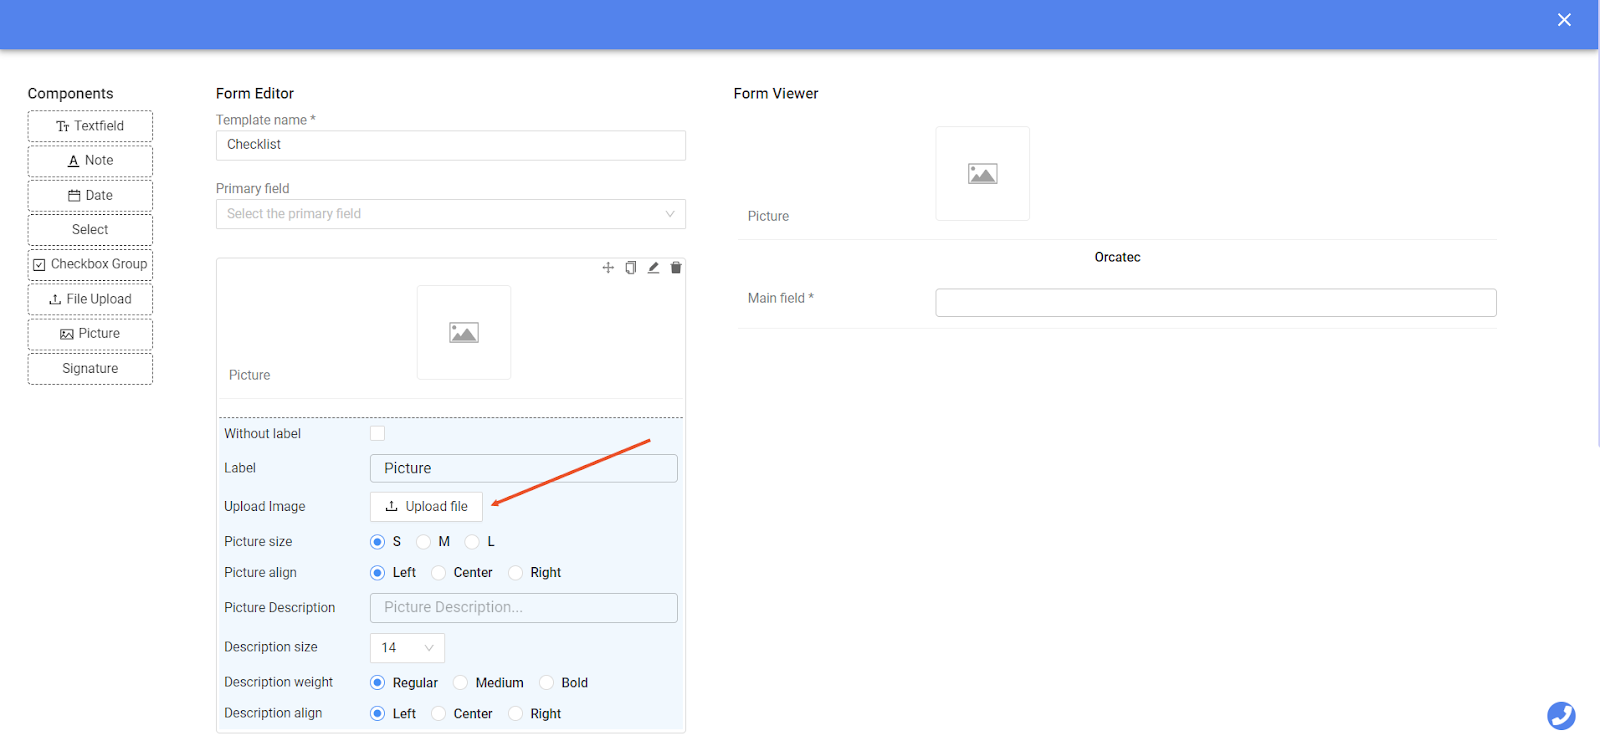
You can change picture size, add description and adjust alignments for this field.
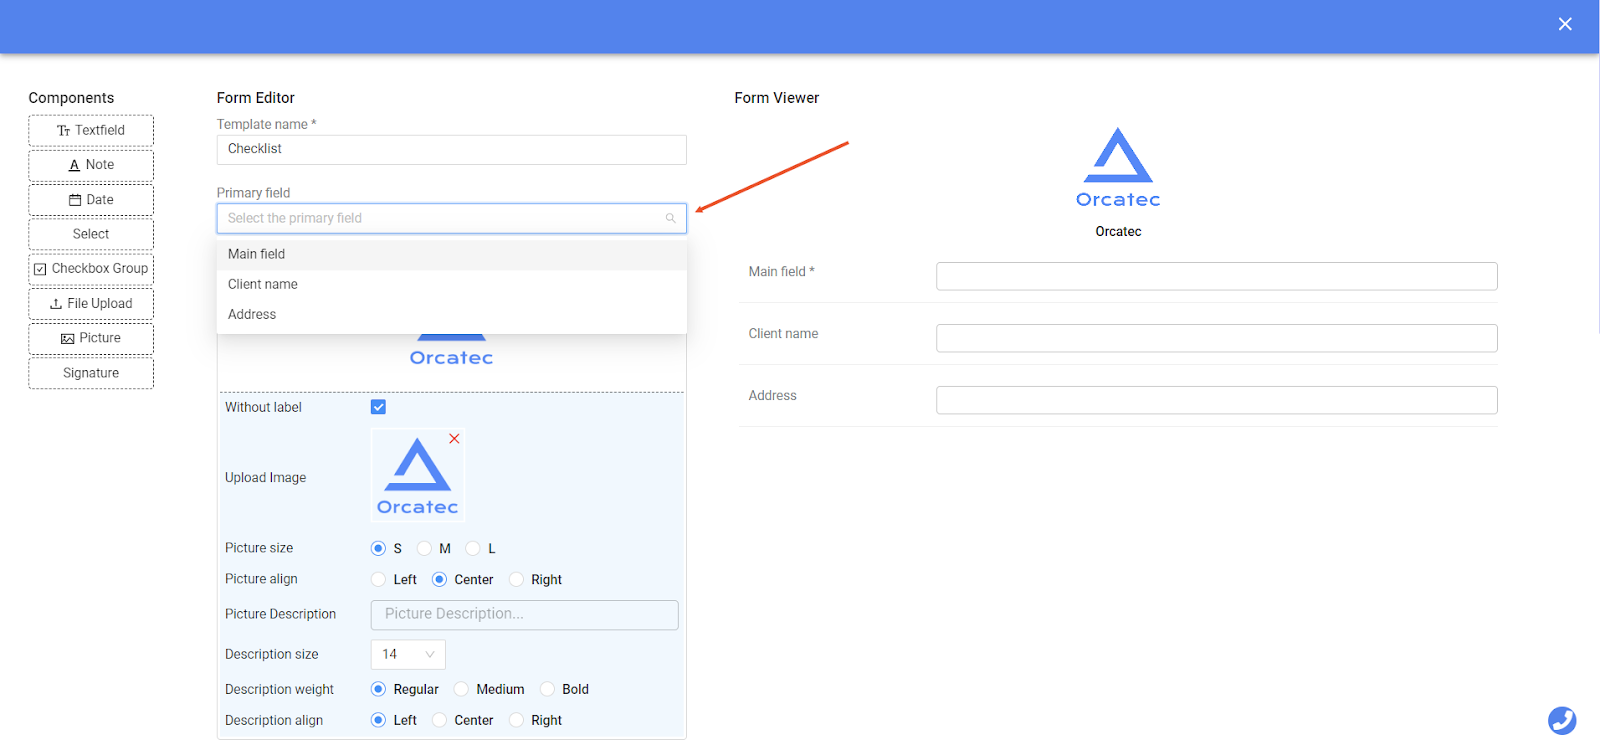
You can choose one field to be the Primary field for this template. Information from the primary field will be visible on every form.
You can drag and drop the fields to change their order.
Click on duplicate icon to create a copy of the field.
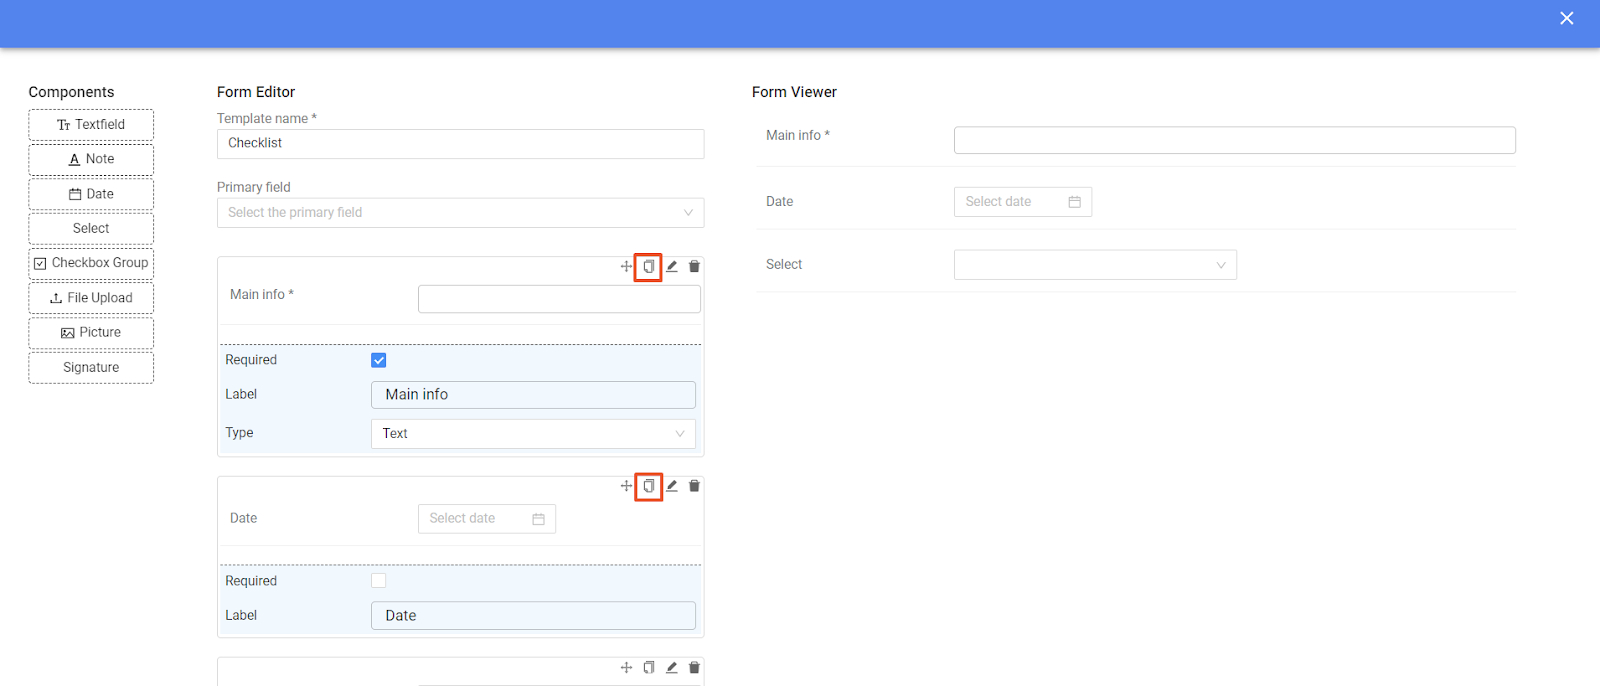
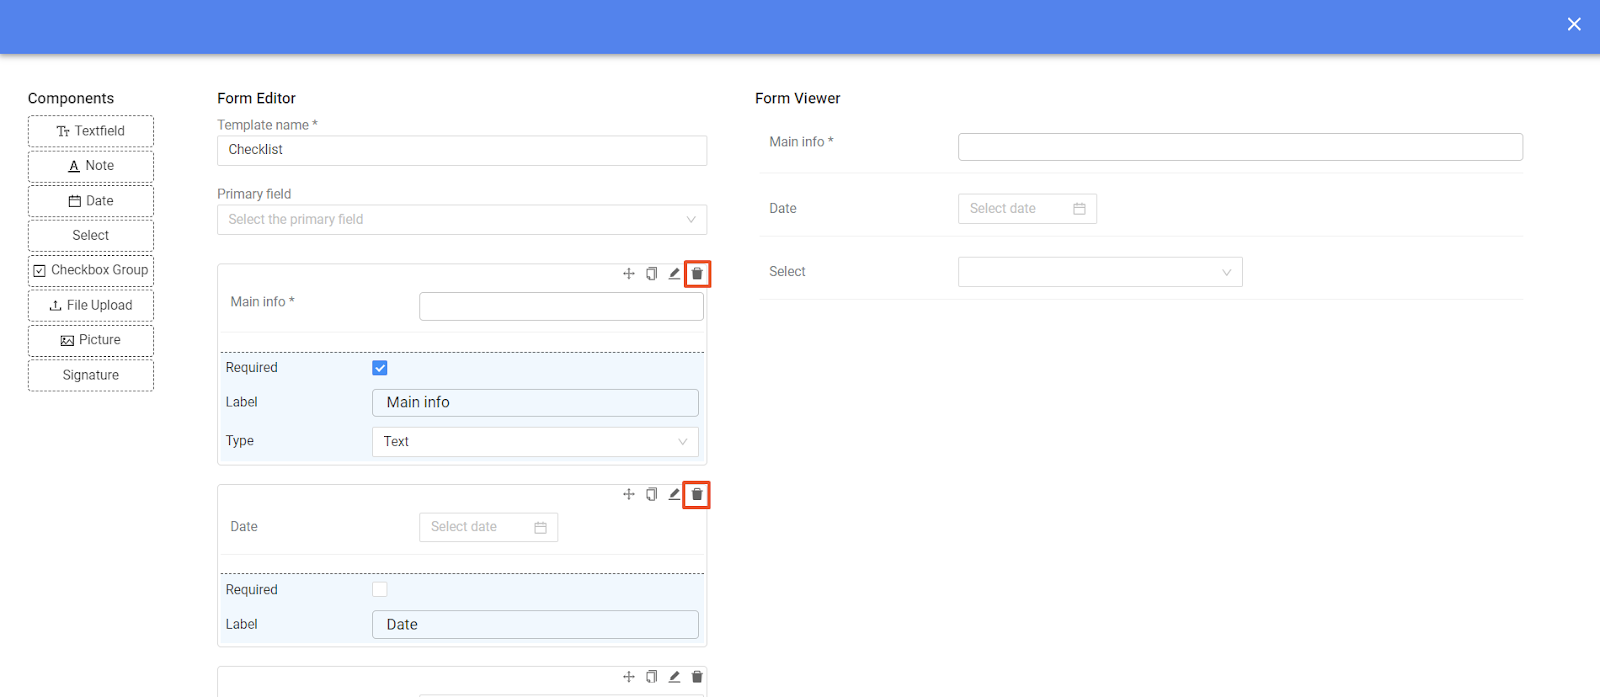
To delete a field click on delete icon.
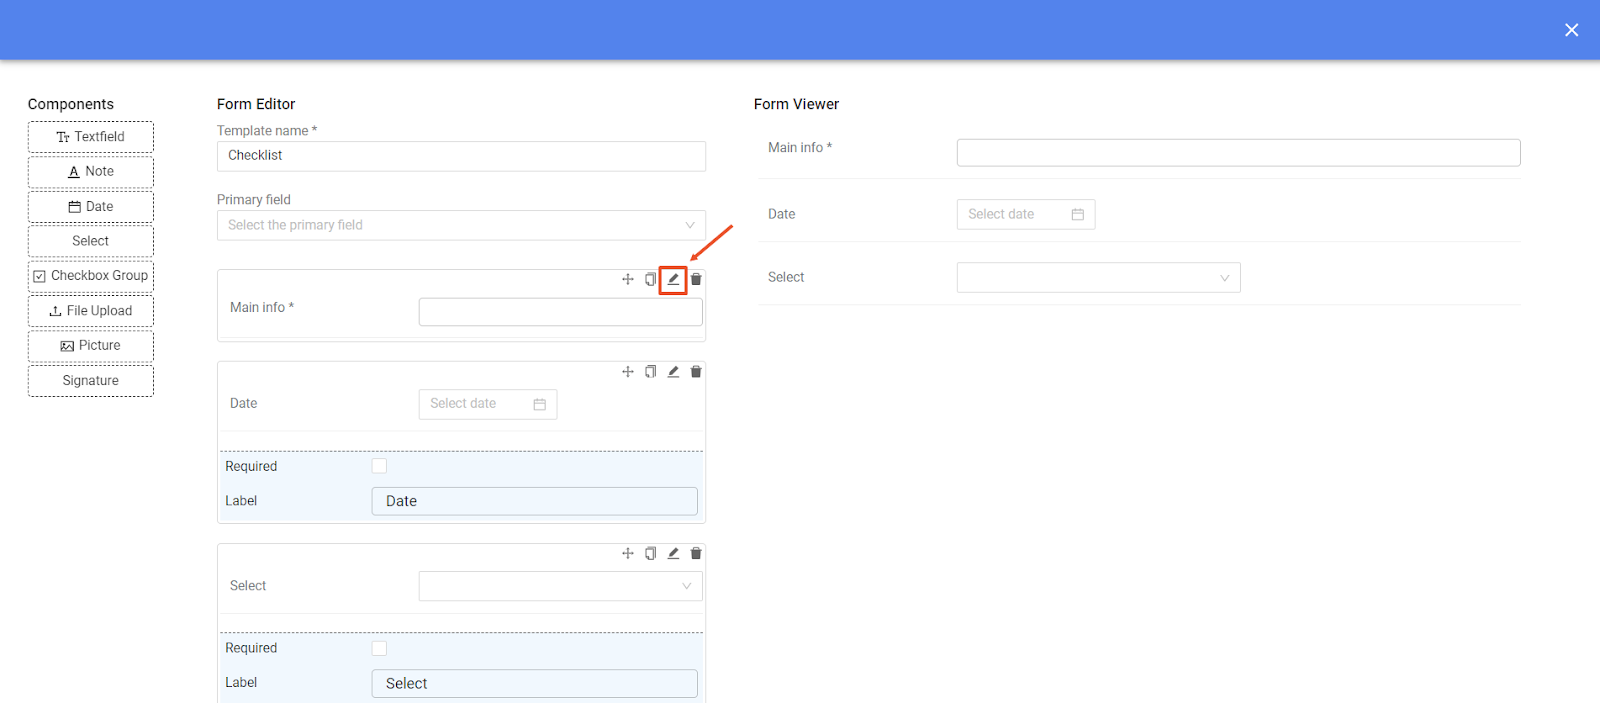
Click on pencil icon to hide or reveal editing options for the field.
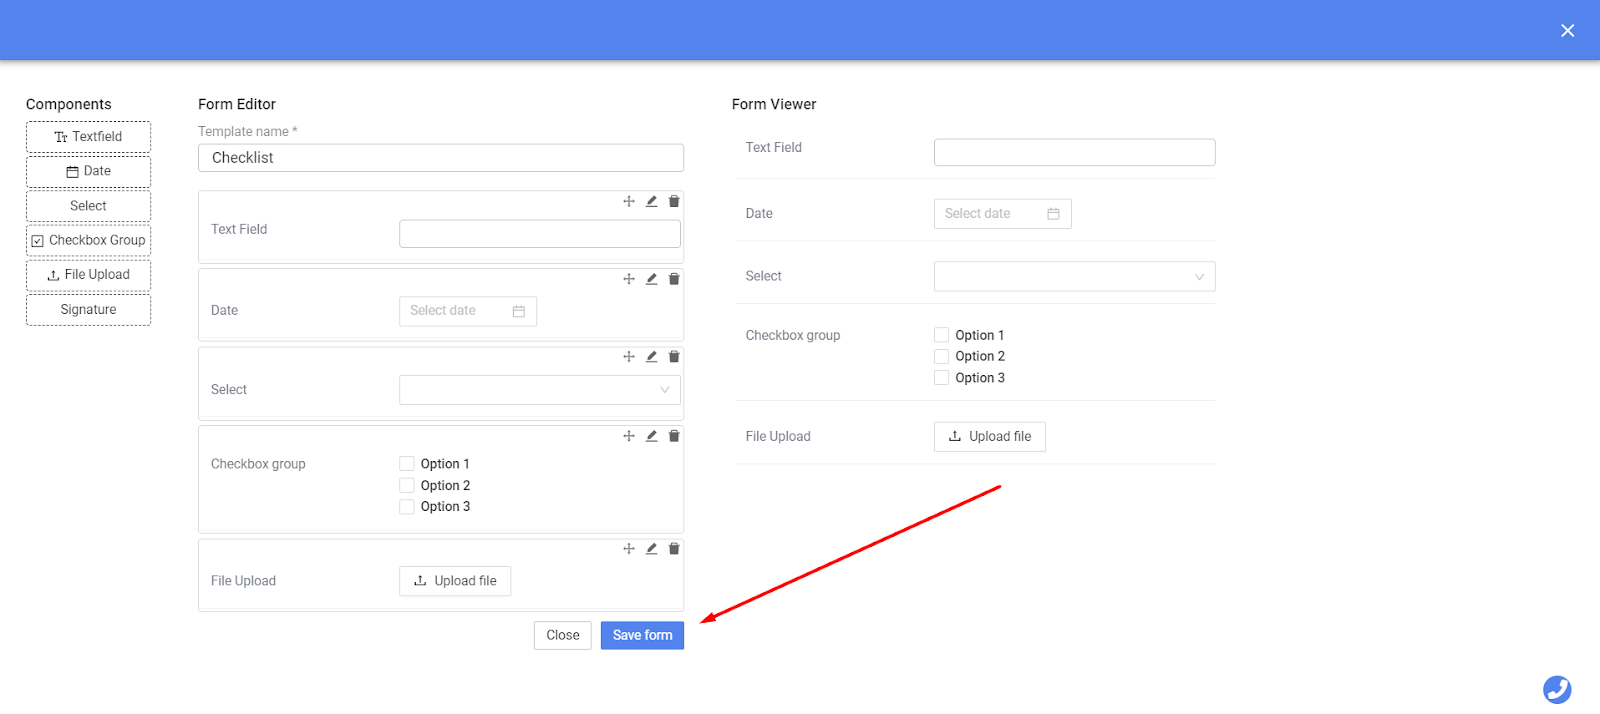
Once you hit Save Form button, the template you have just created will appear in templates list.
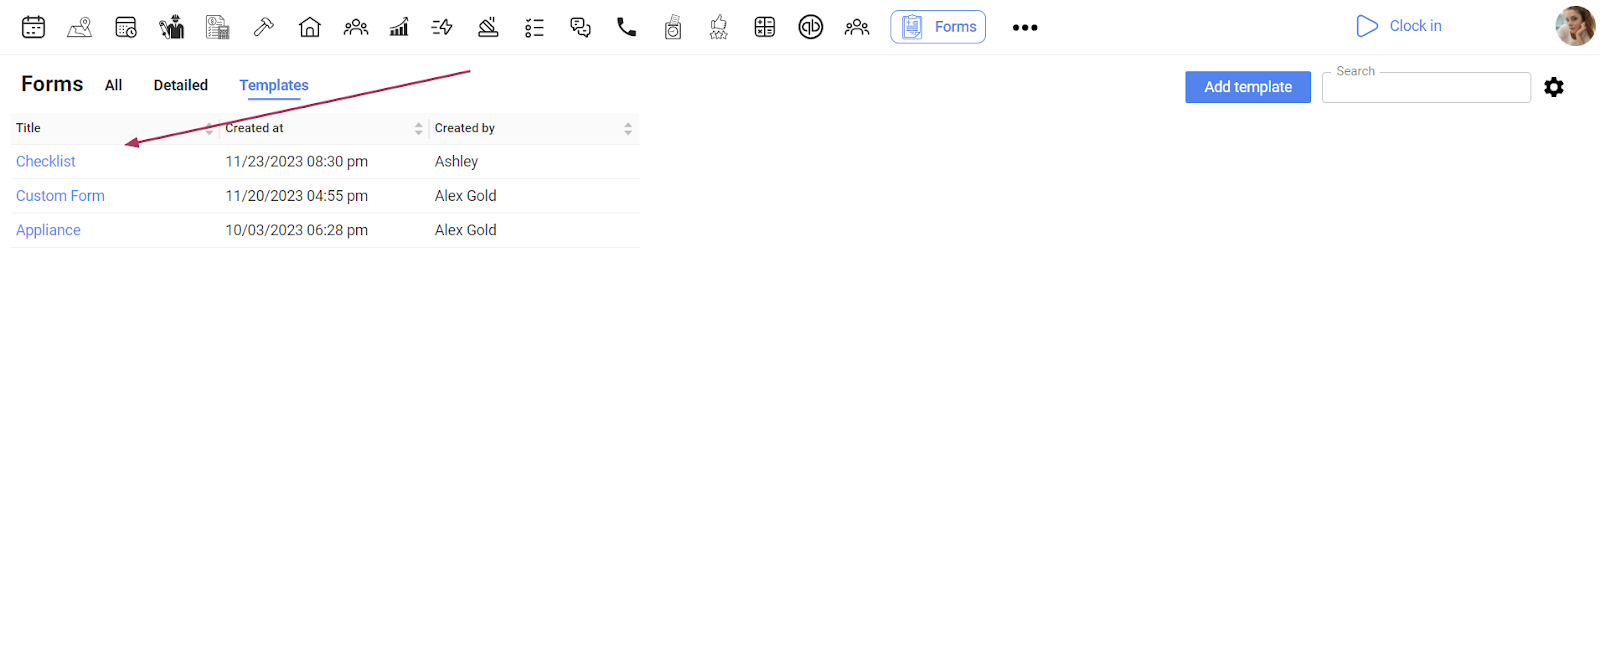
Once you click on the name of the template, it will open in a modal window, where you can view, edit and duplicate this template.
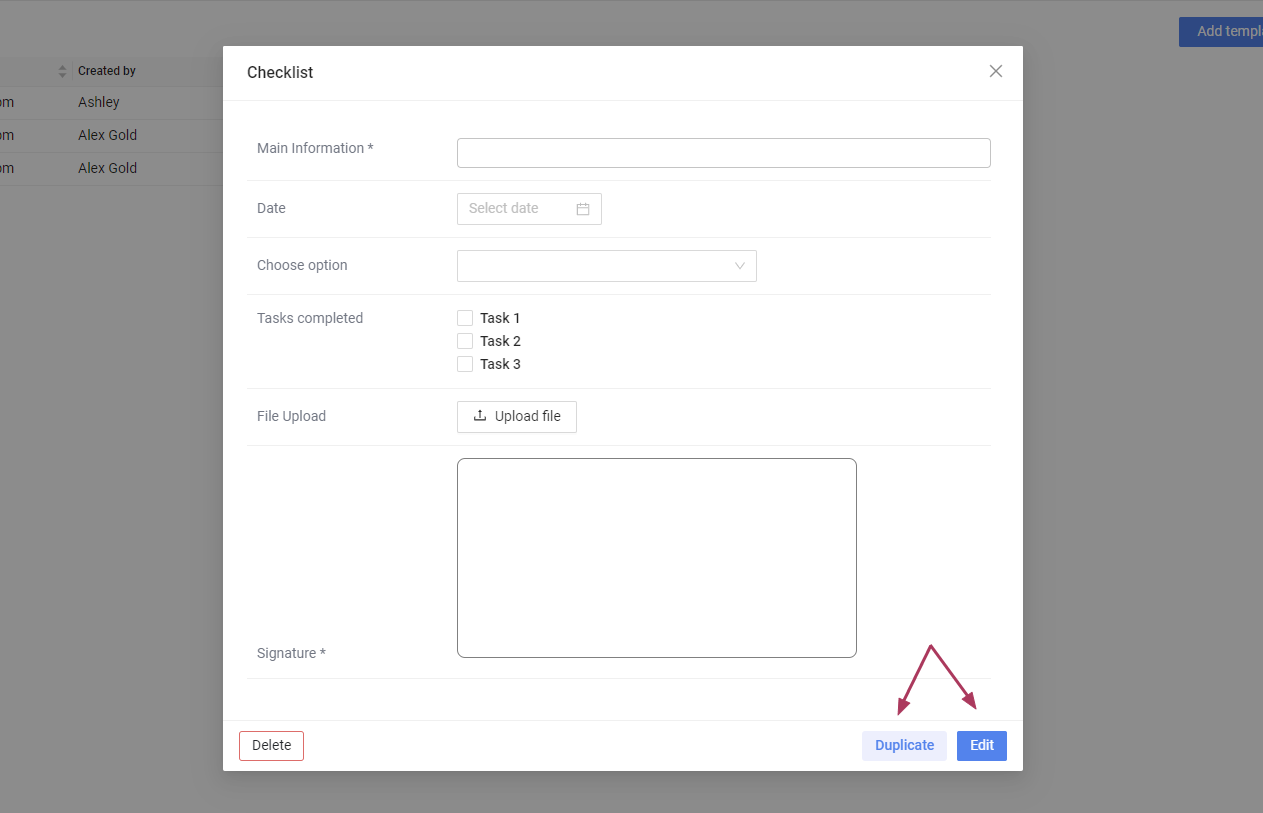
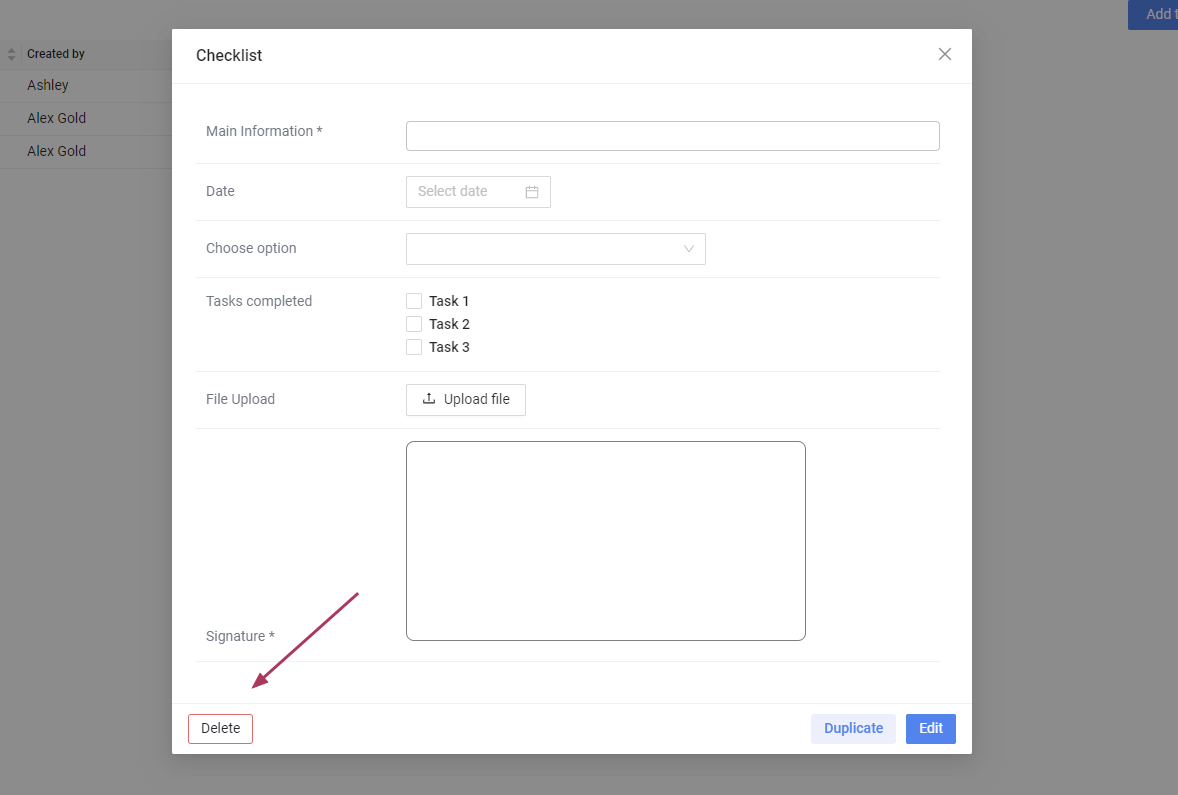
To delete this template, click Delete button.
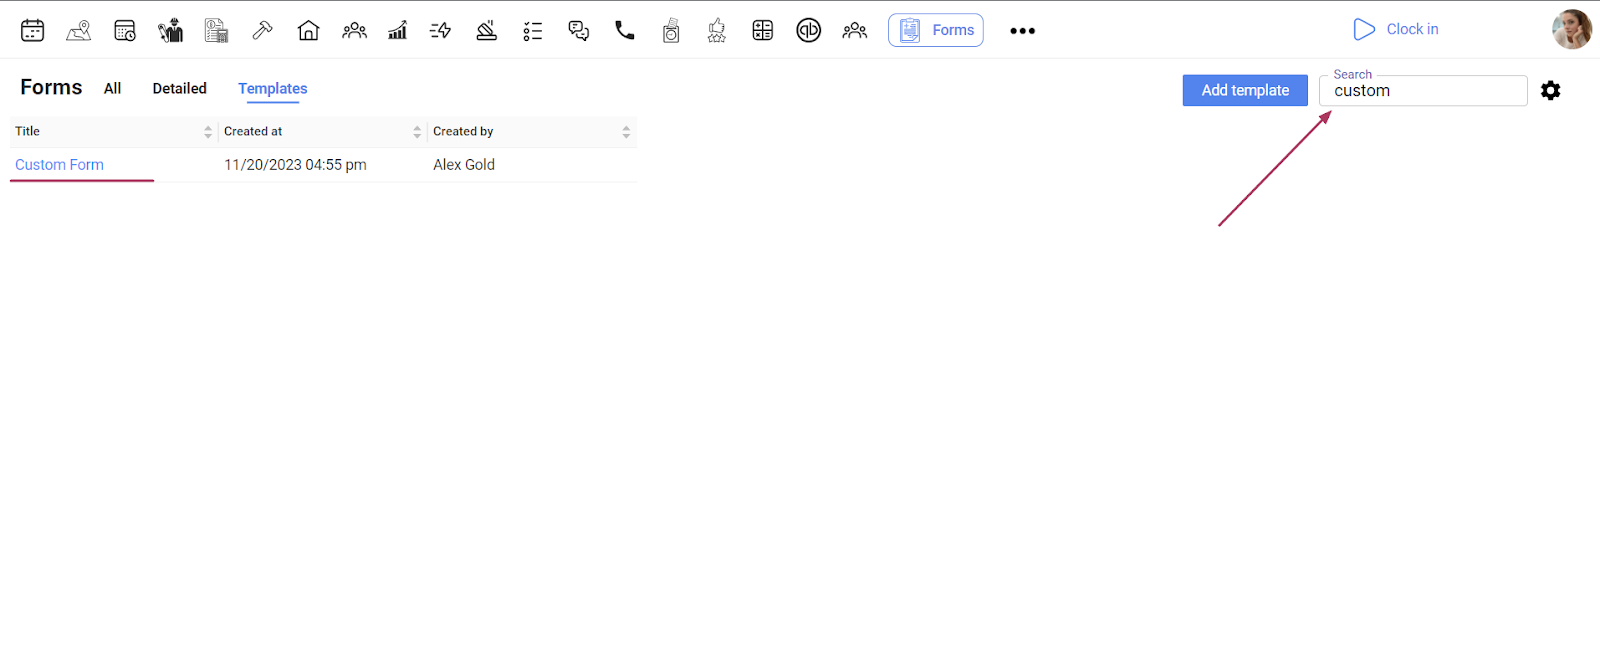
Use search field to find the needed templates.
You can see the list of all forms under Forms - All.
You will see project and event IDs associated with the forms. Click on them to open the project or the event for more details.
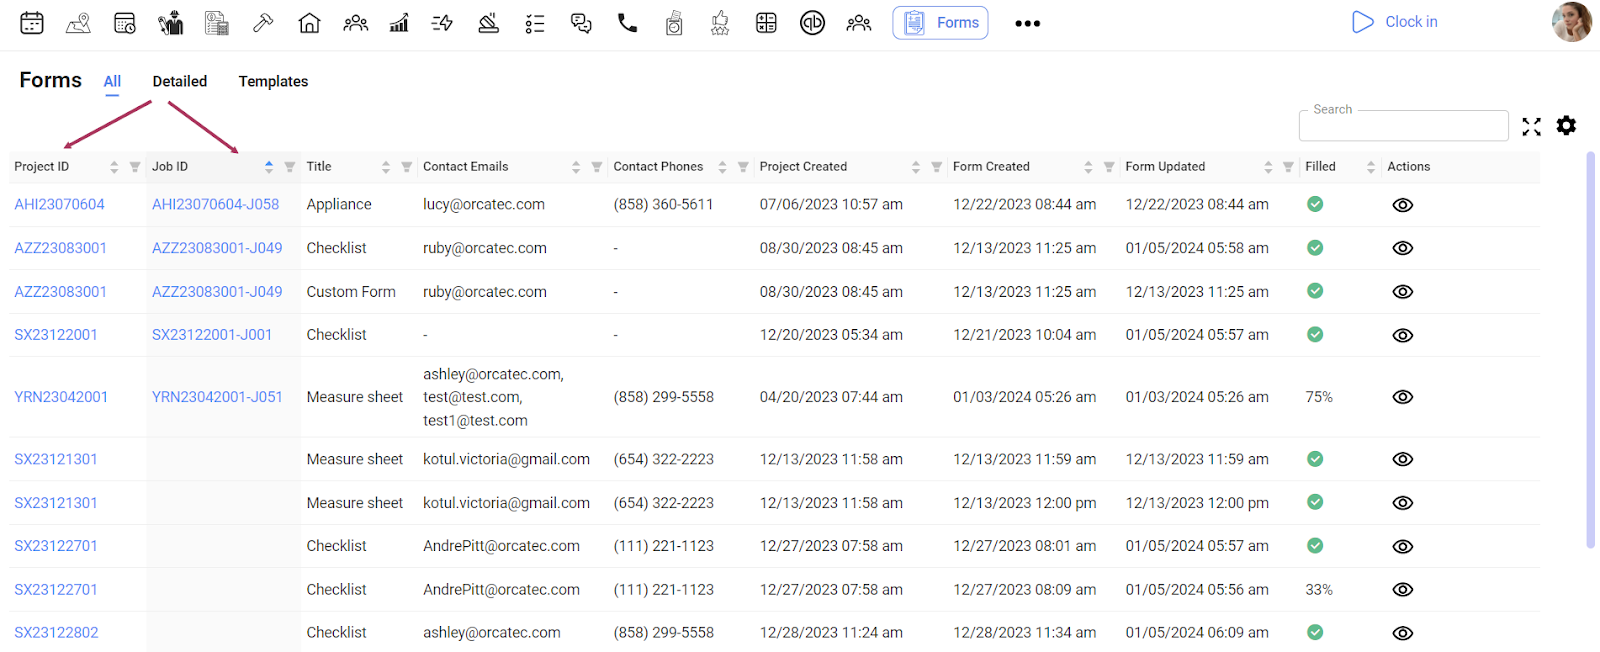
The Progress column shows the percentage of completion of the form. Green checkmark indicates that the form has been submitted and all the required fields have been filled out.
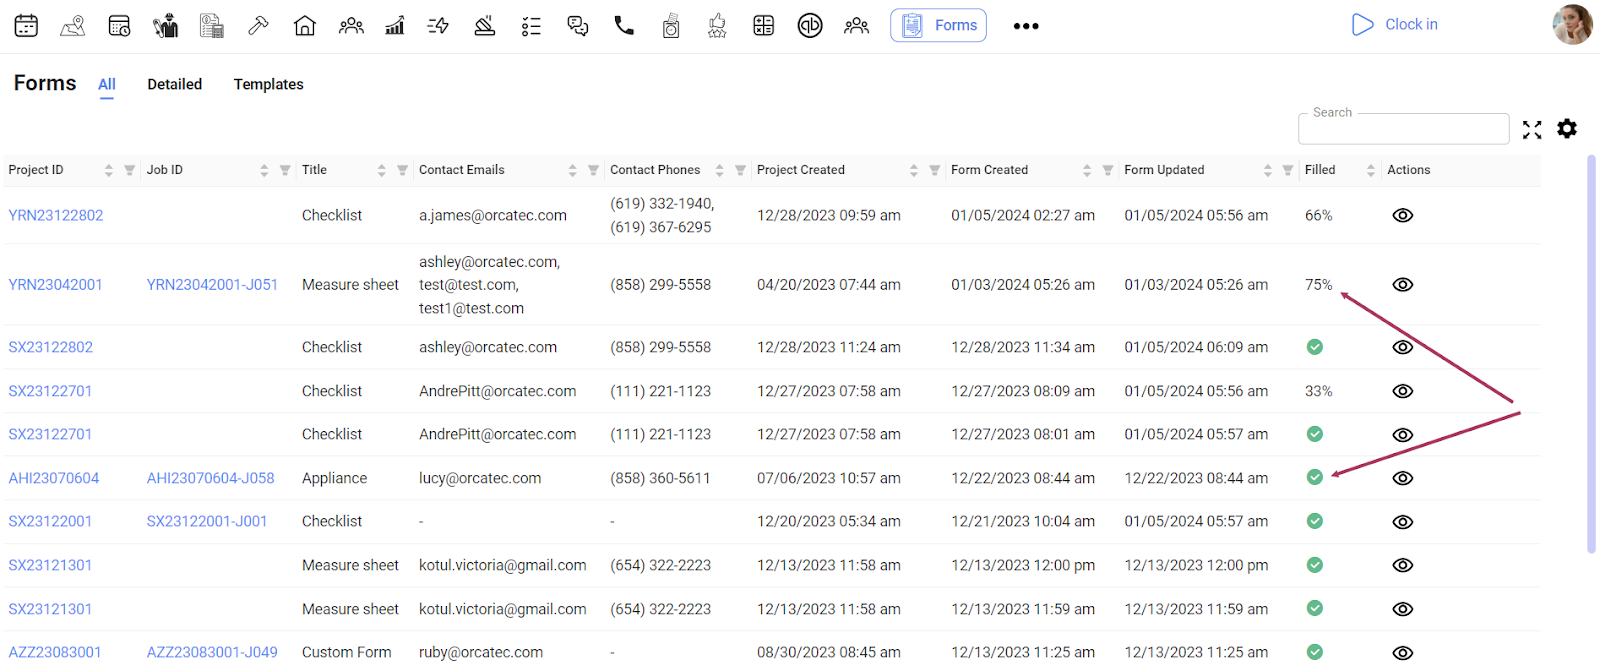
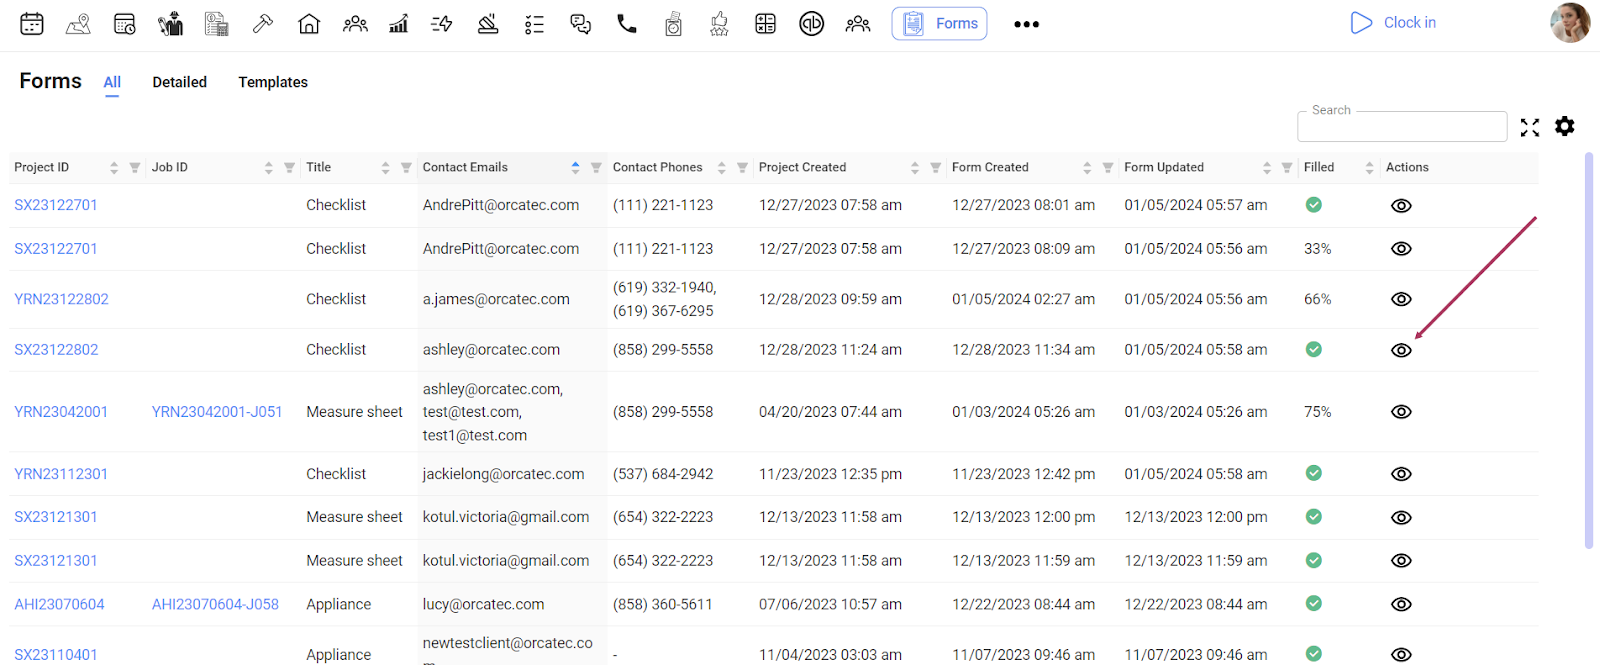
Click on the eye icon to see the whole form.
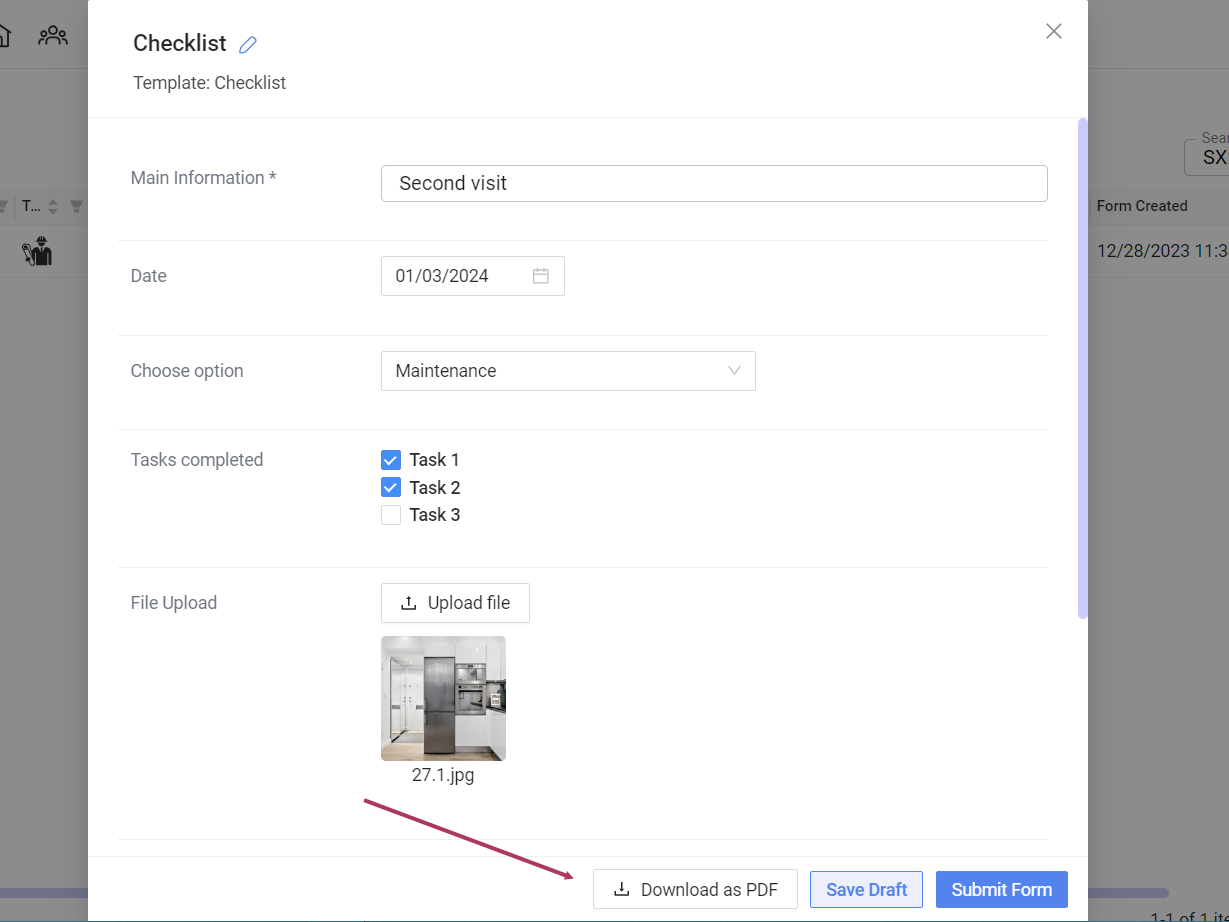
You can download the form in PDF format by clicking Download as PDF.
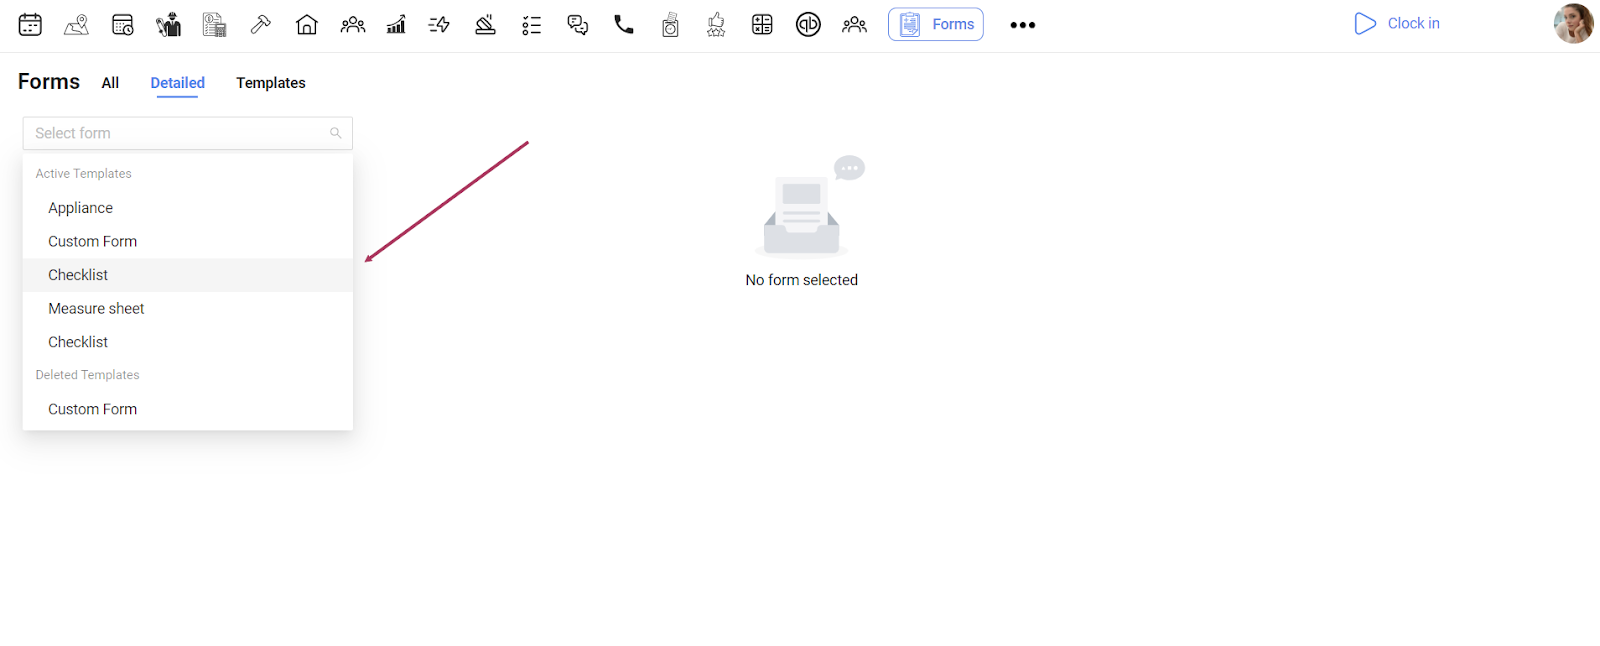
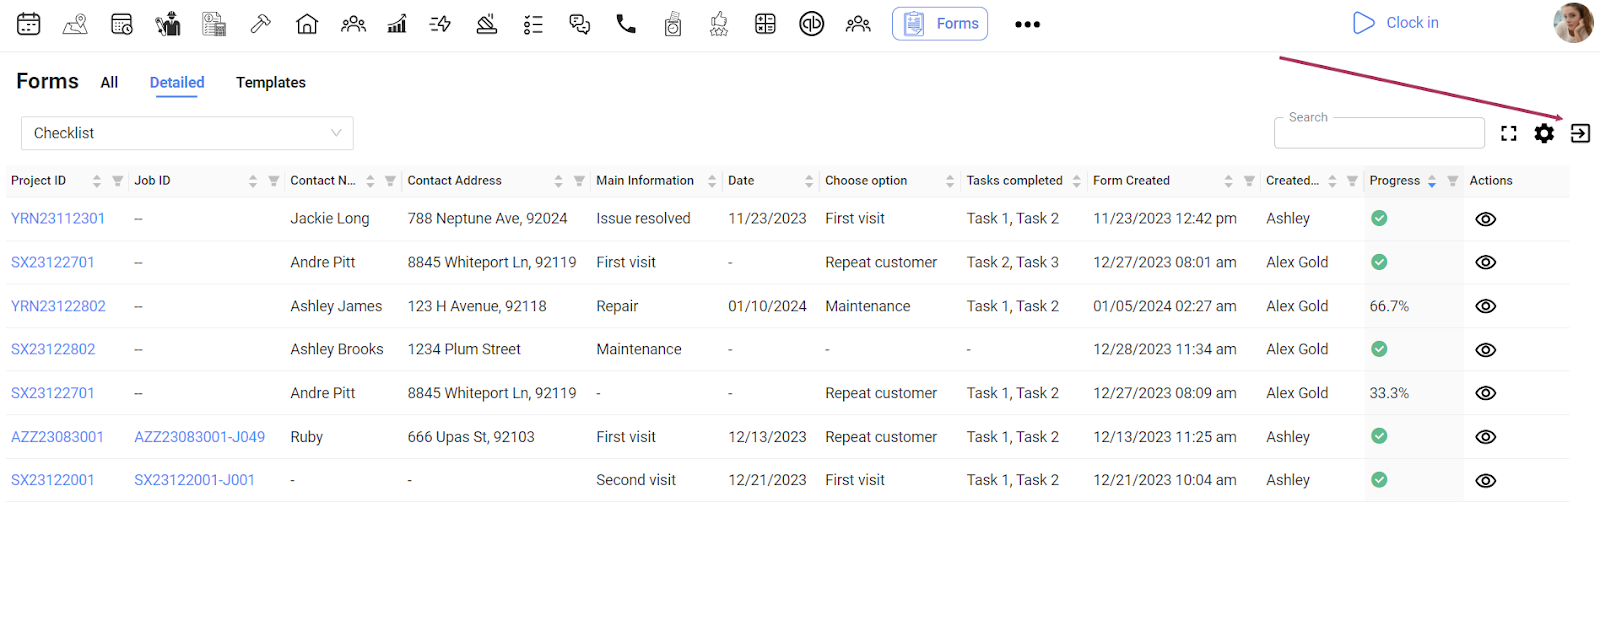
Under Forms - Detailed you will see the detailed view of all the filled out forms.
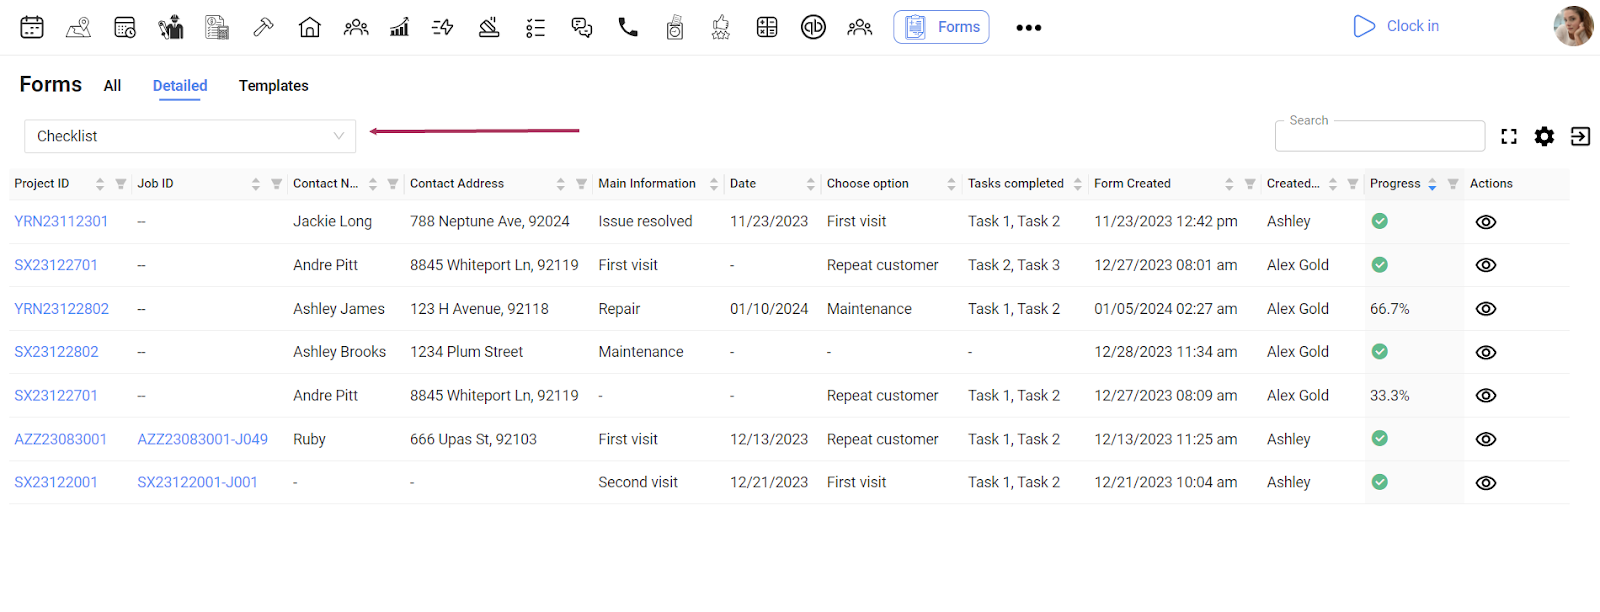
Select a needed template from the list and you will see a table with detailed information on all the forms created from this template.
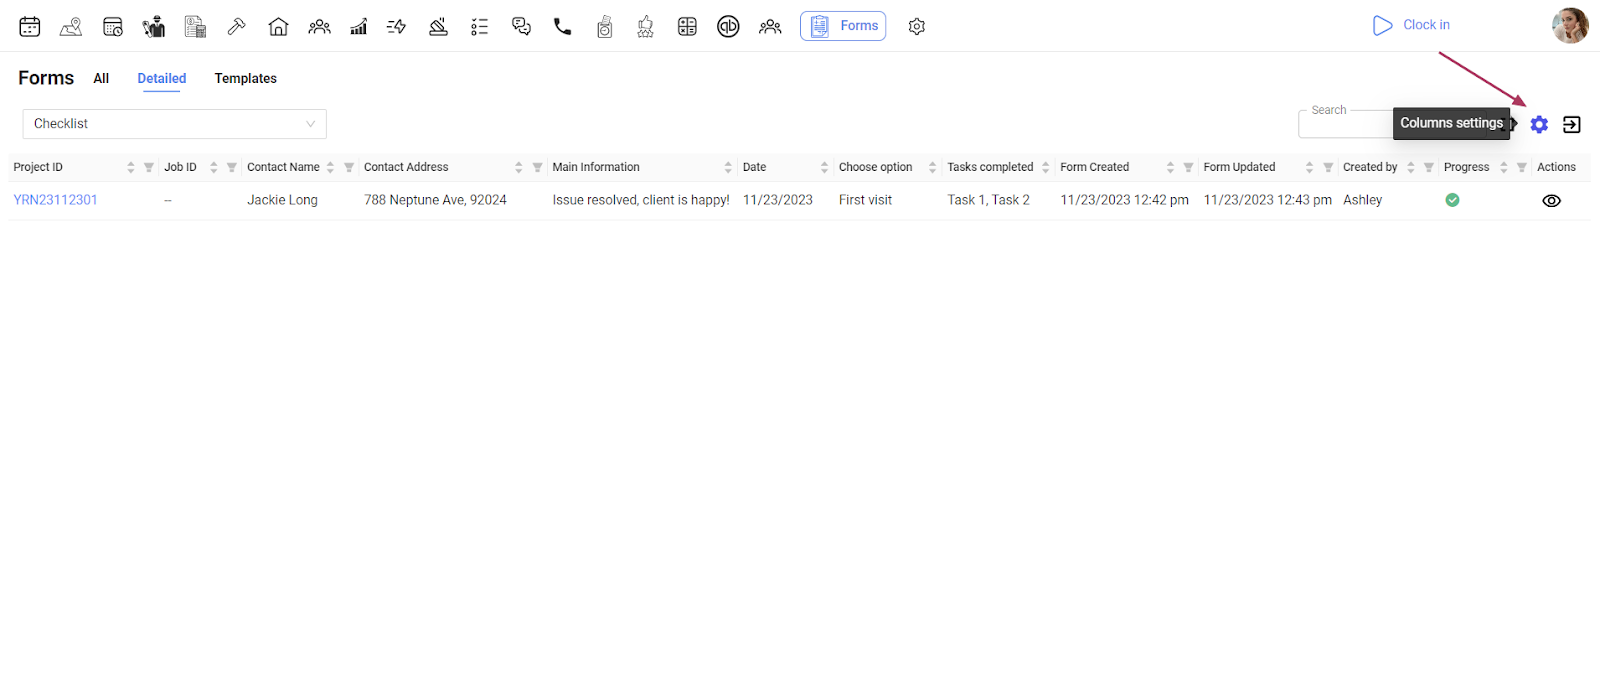
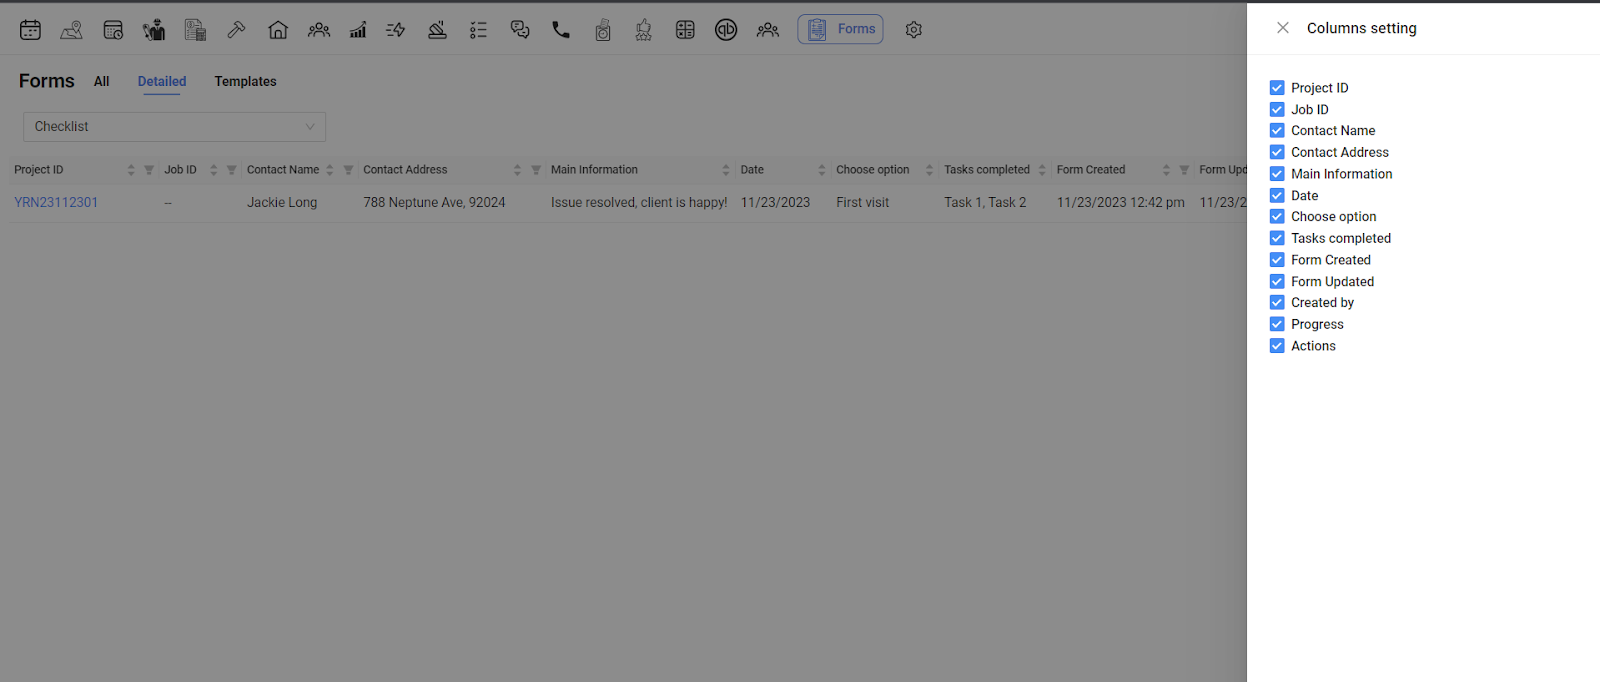
You can select columns to be displayed in the tab by clicking gear icon and unchecking the columns to hide them from the view.
You can export the table by clicking the export icon. Please note, only the current view will be exported.
To add forms to the project, go to Forms section in the project.
In this section you will have all forms related to this project.
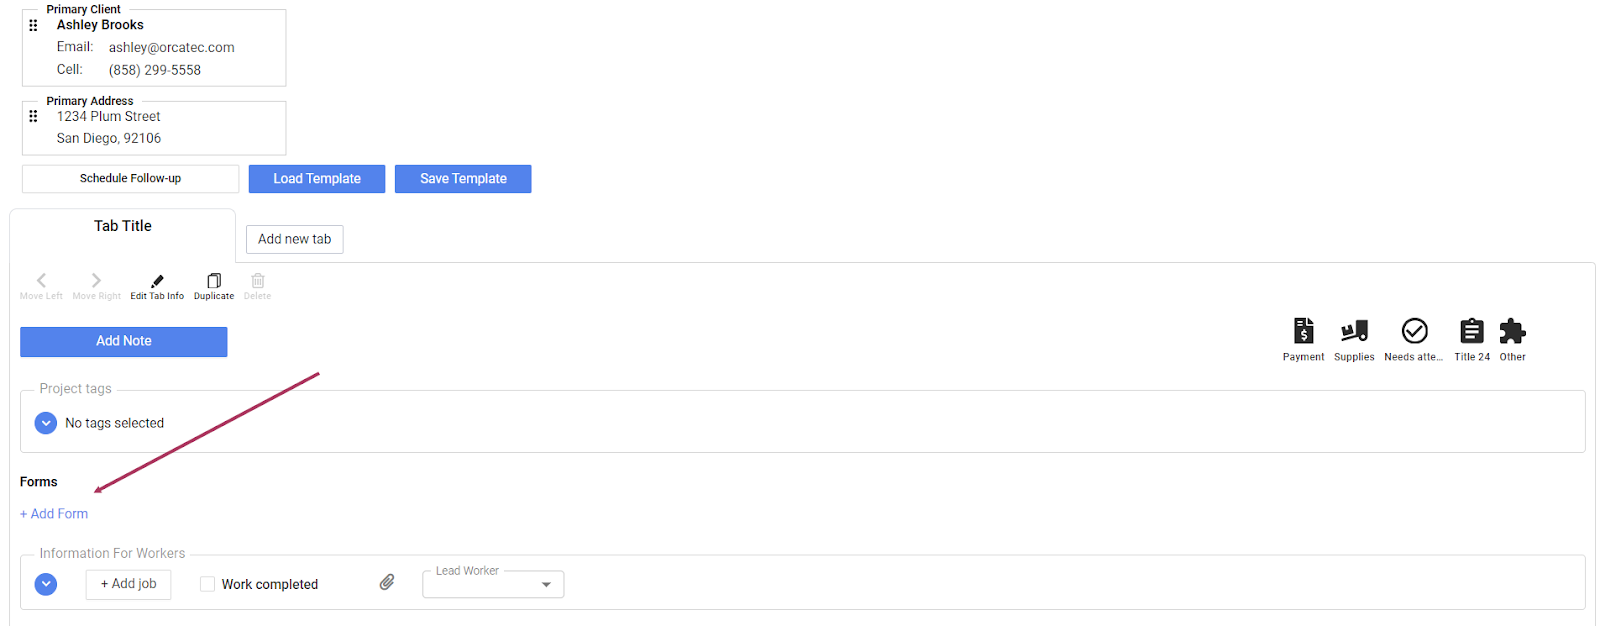
Click Add Form button and select the forms you would like to add to this project.

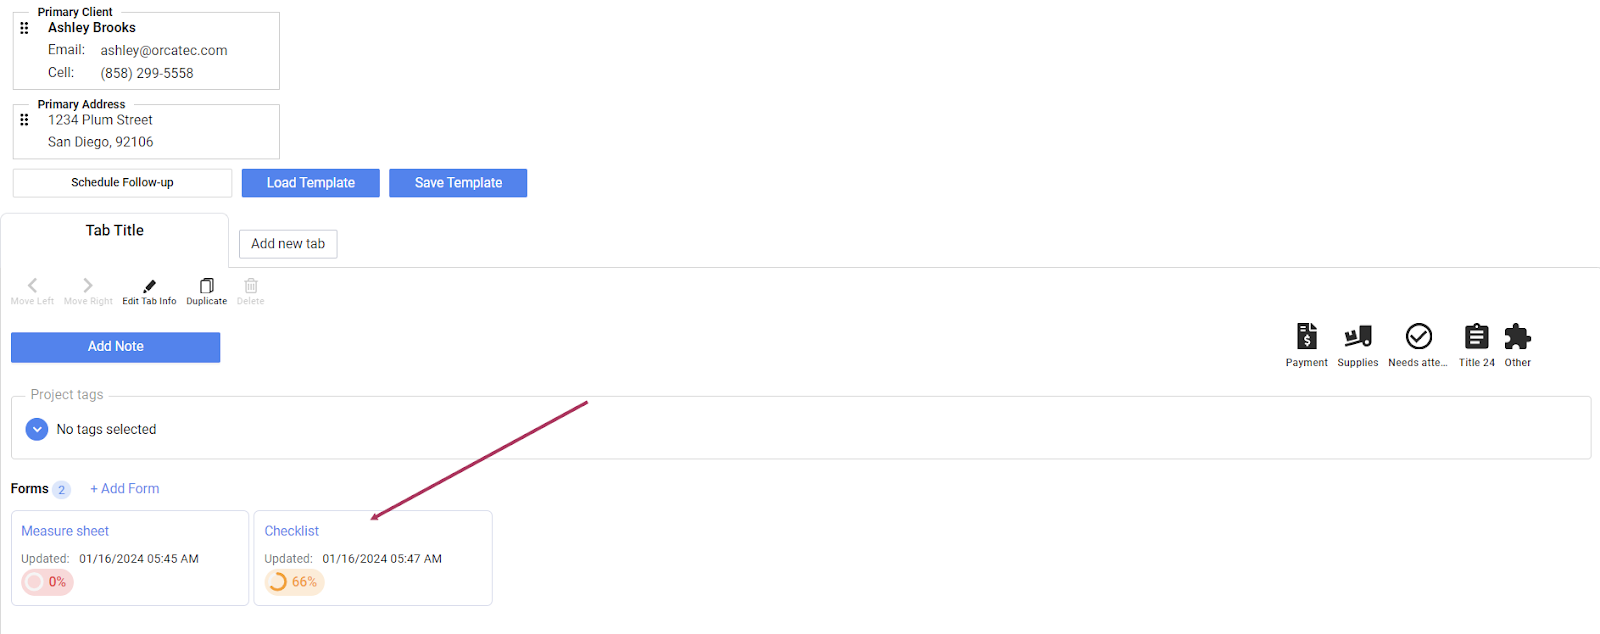
The selected forms will appear in the tab.
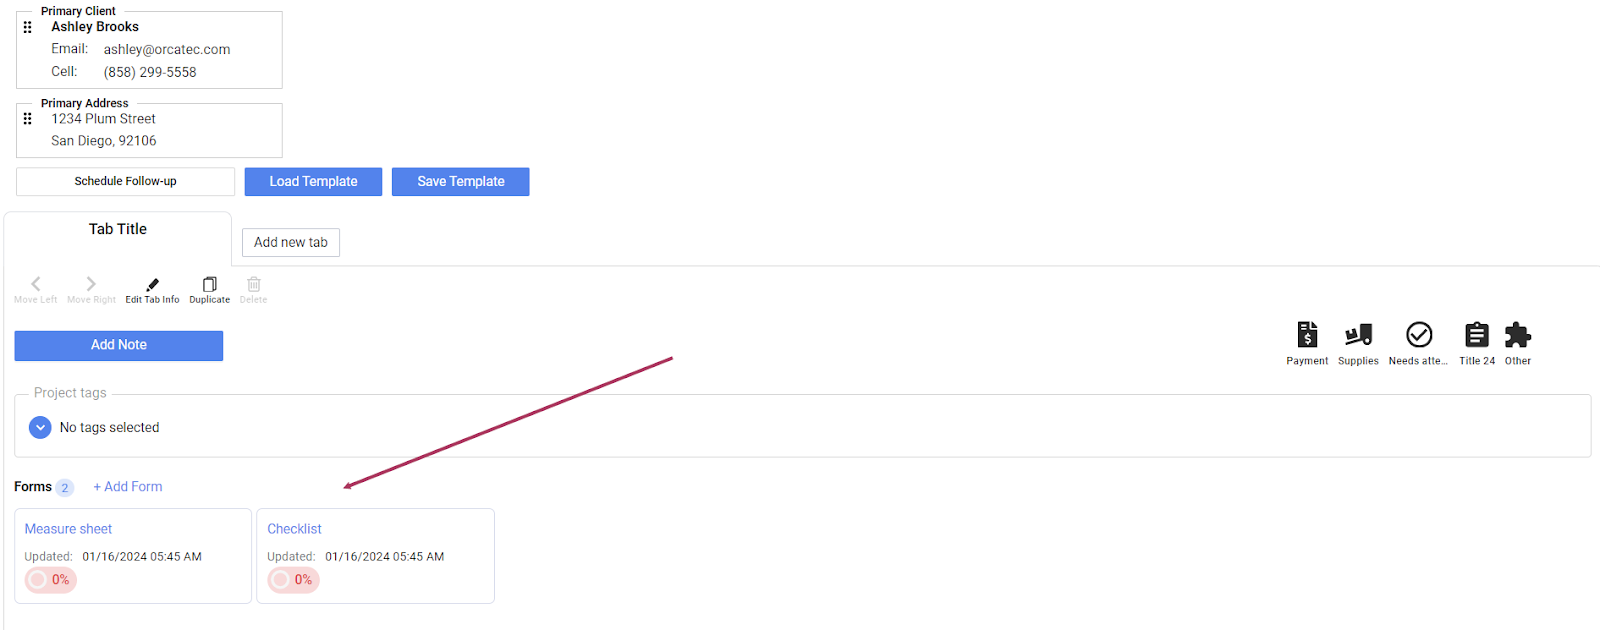
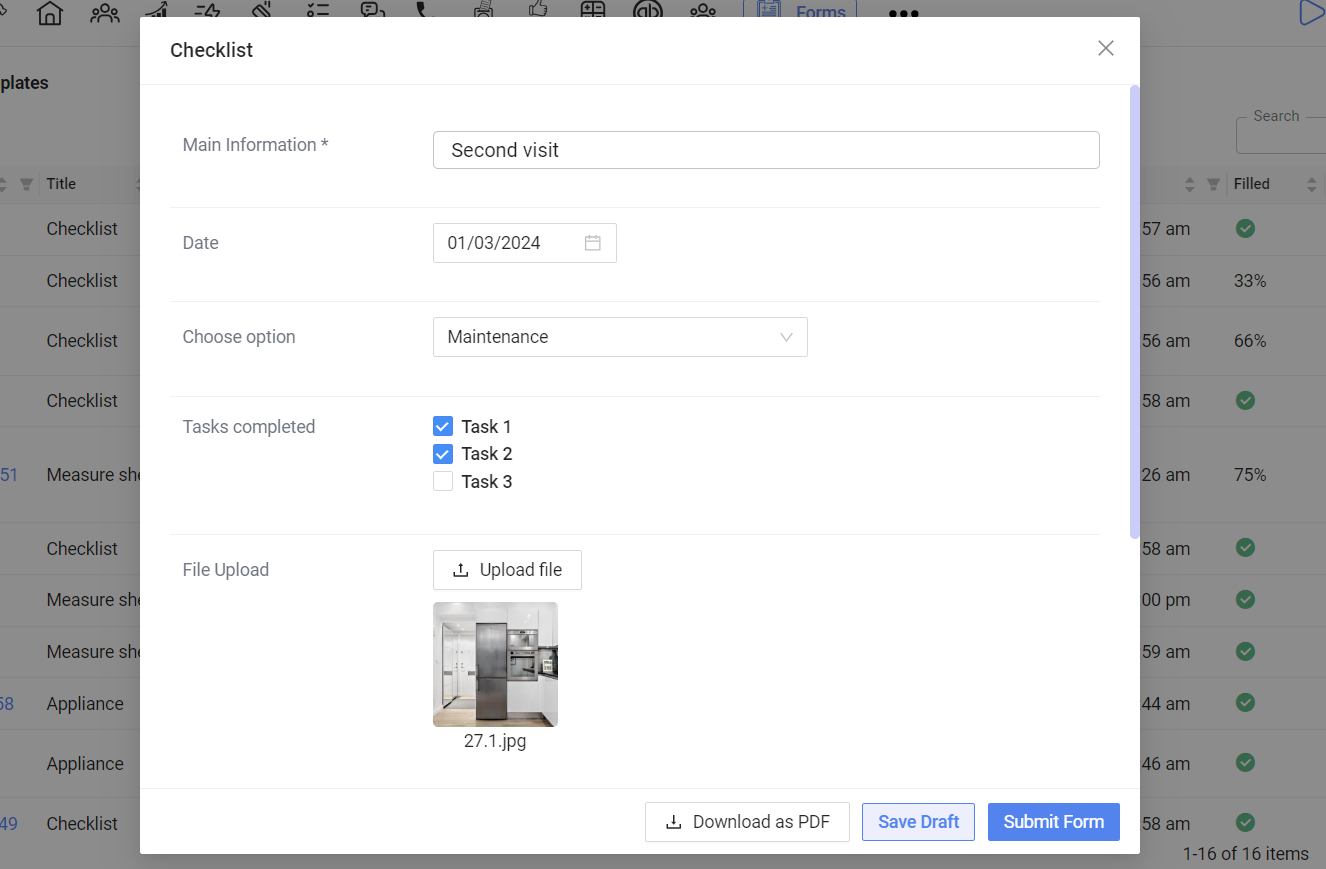
Click on the form to view it and fill in the information.
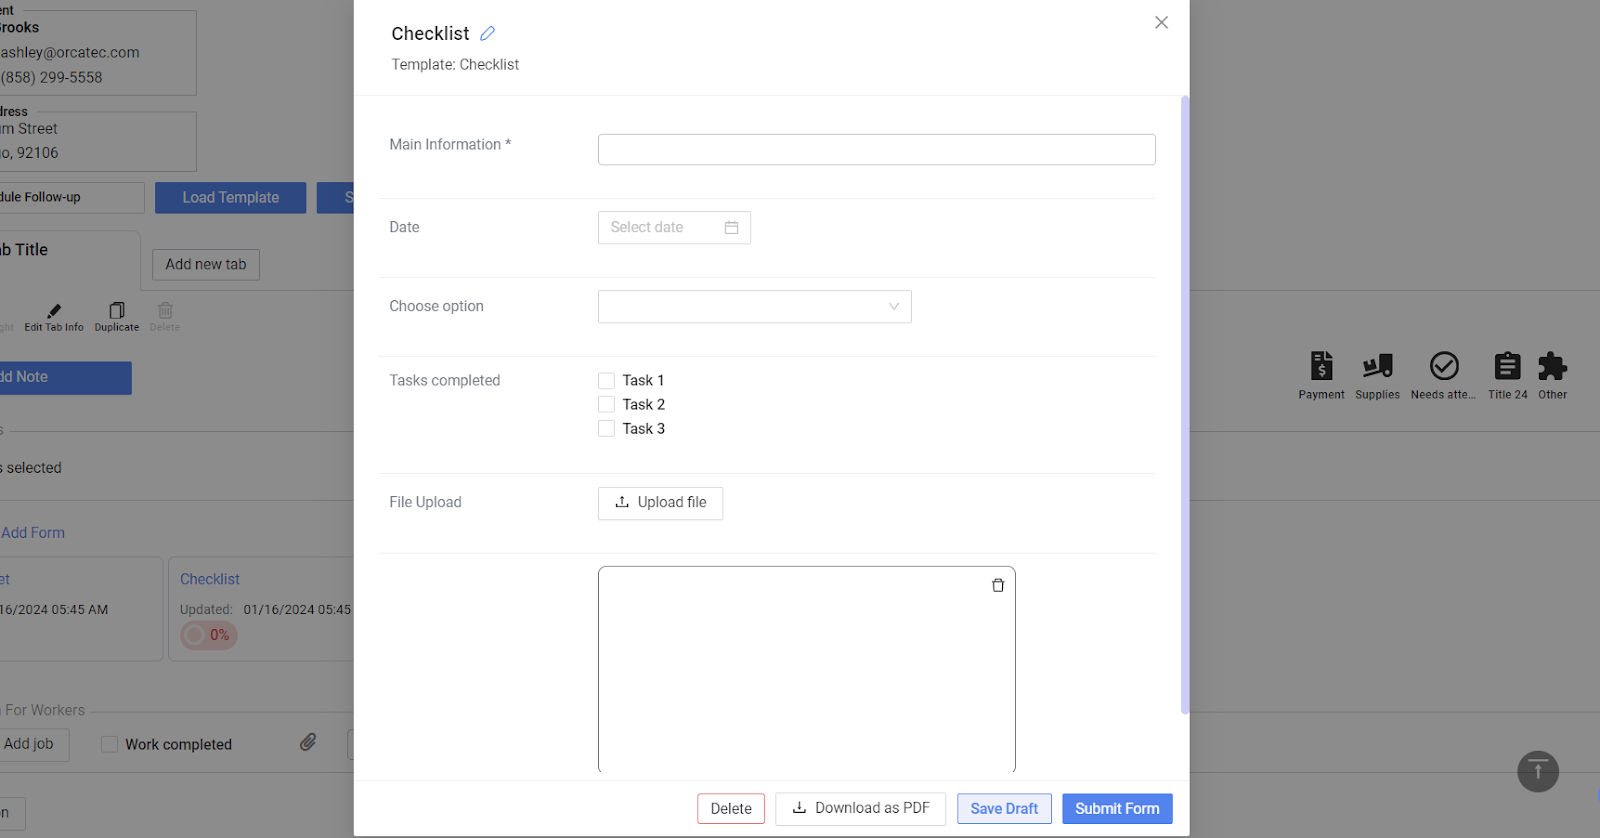
You can edit the name of the form by clicking the pencil icon.
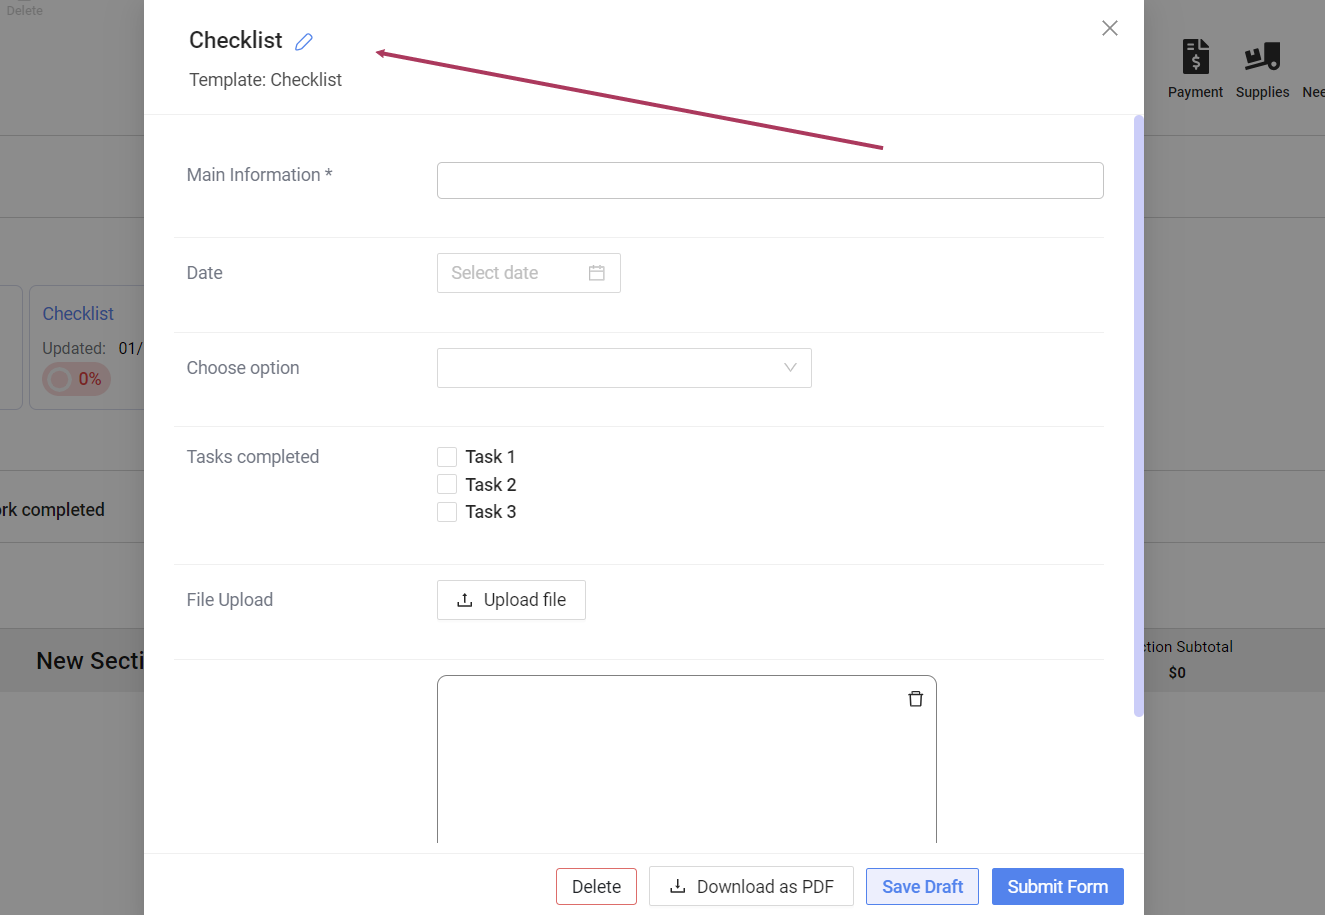
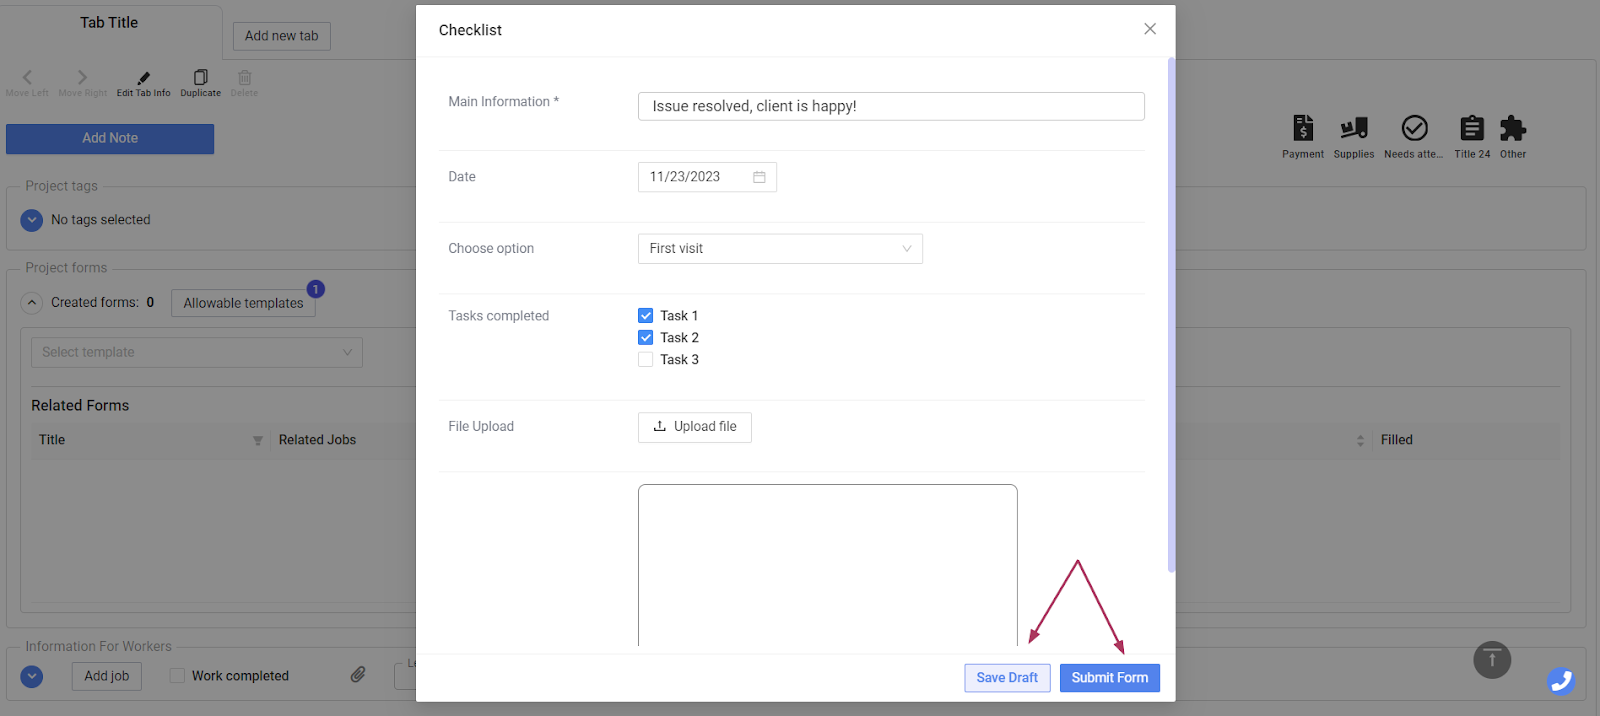
Please note, you will not be able to submit a form if any of the required fields are blank.
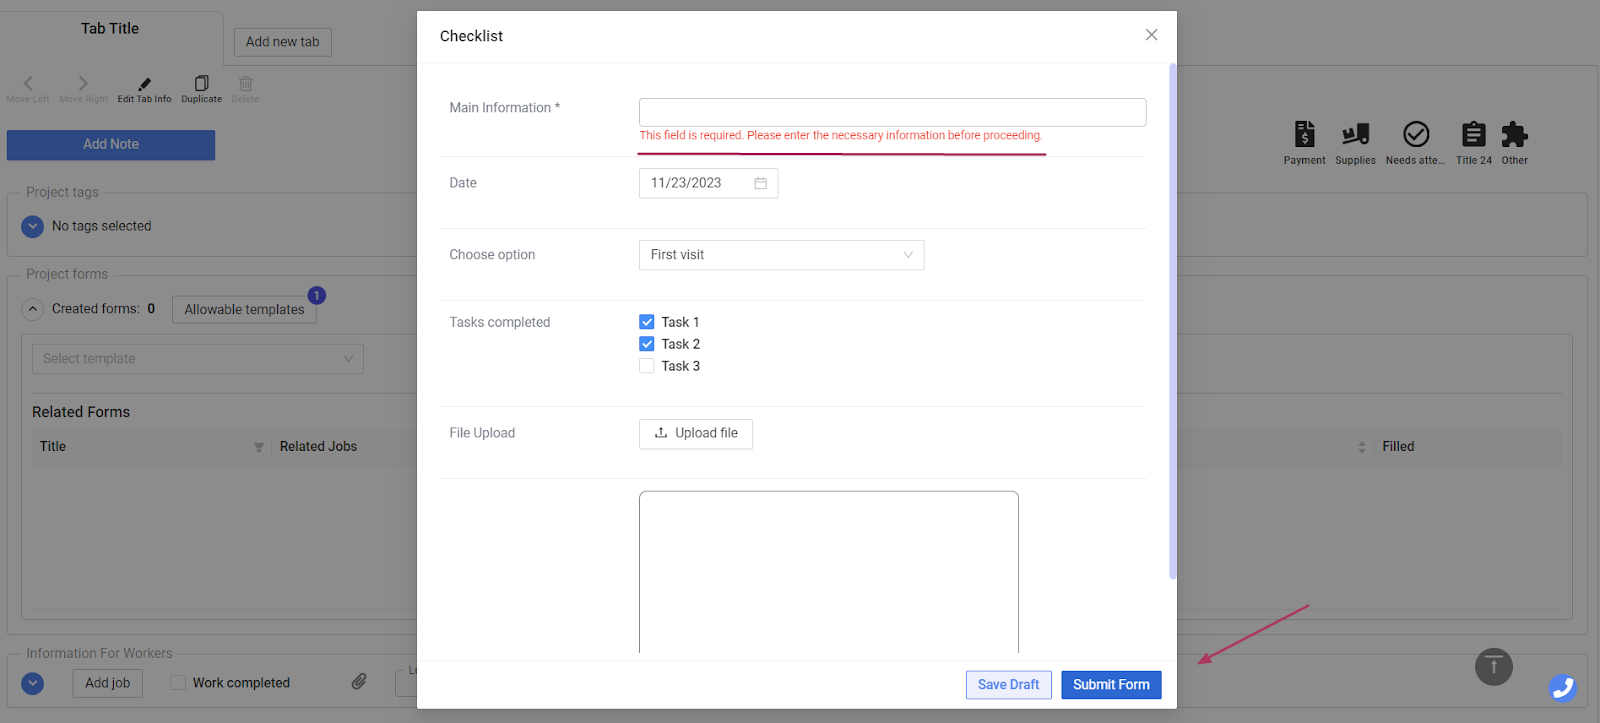
If you don’t have all the necessary information or you plan on editing the form further, you can click Save Draft button.
After saving the form you will see the percentage of completion for it.
You can also add forms to appointments and jobs using the same pattern.
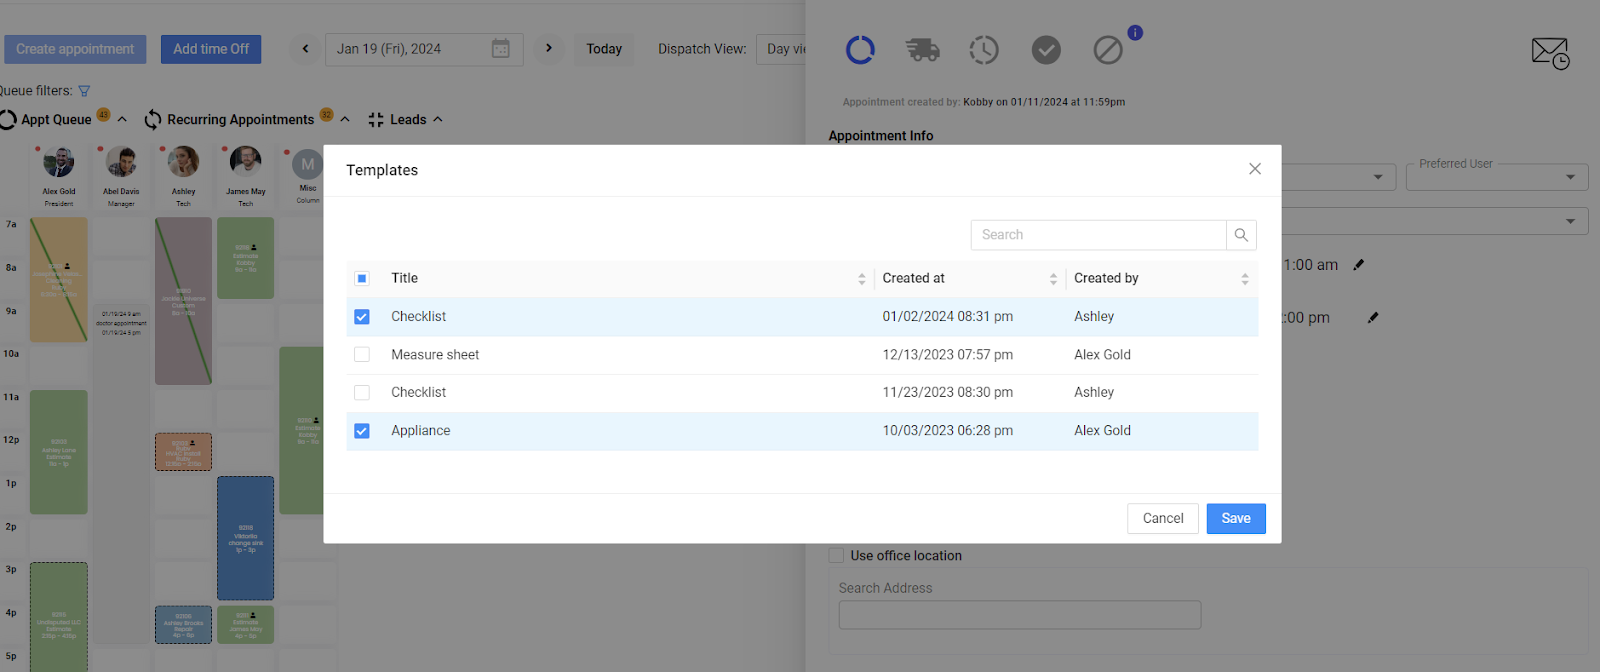
Click on the event to open edit view and click Add Form button.
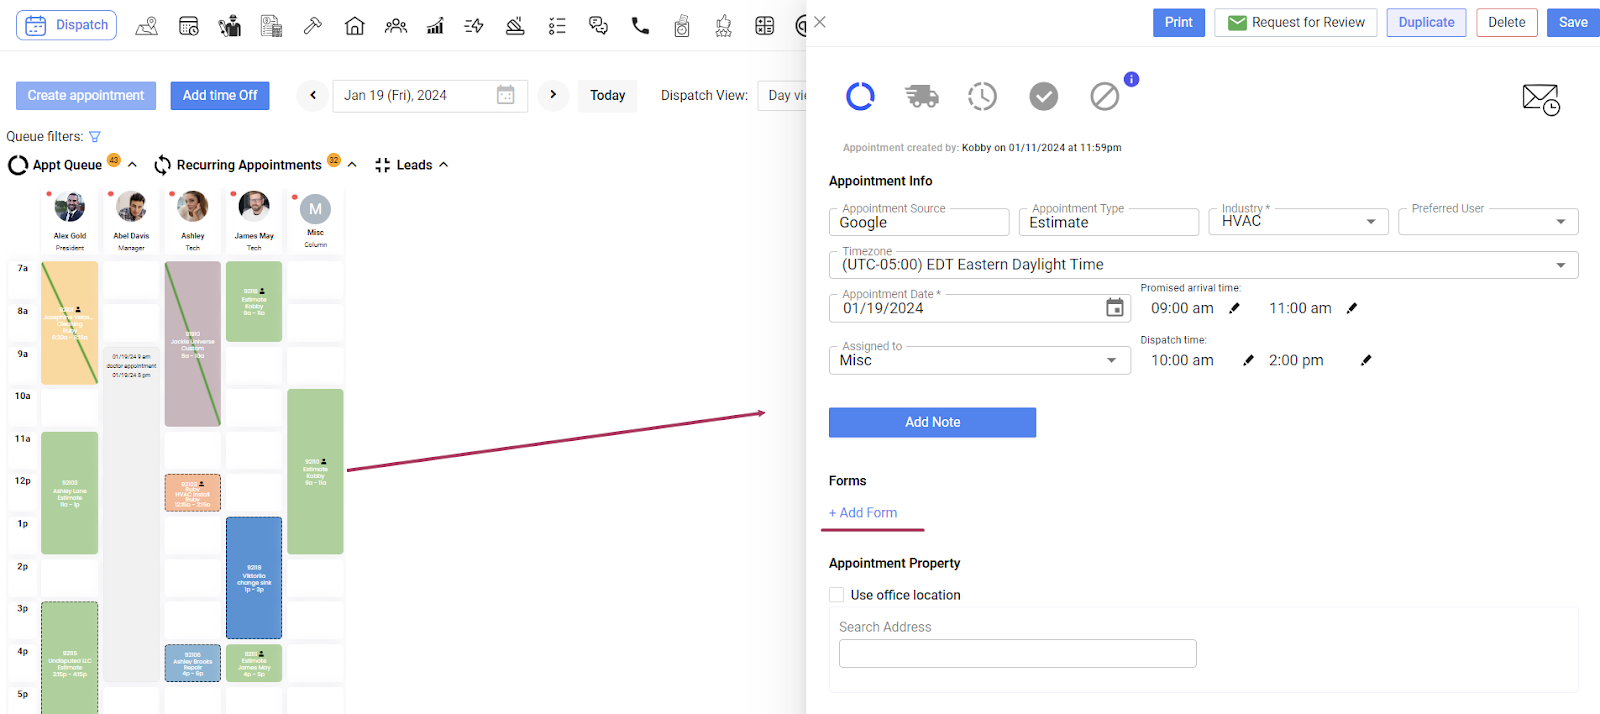
Select the forms from the list and click Save.
Your users in the field will also be able to see the forms attached to the events in their Schedule and fill them out from the app.

Other Articles
Share job details via public links
Make collaboration and communication easier by sharing job details via public links, ultimately leading to more efficient project delivery and better outcomes for everyone involved.
5 min read Feb 27, 2024
Custom forms
Make managing data more flexible and efficient for you. Design and set up your own custom forms to collect and manage information efficiently.
10 min read Jan 18, 2024
Request for review
Introducing our enhanced Request for Review module! Use it to quickly gather valuable feedback on your visits, improving collaboration and decision-making.
10 min read Dec 15, 2023